Git-based CMS for Jekyll using GitHub Actions – Part 2
In the previous post, we looked at what a git-based CMS is, and we set up a Jekyll website on our local machine. I recommend that you read the previous post here before proceeding.
In this post, we are going to be creating the necessary resources on Azure and we will deploy our website. If you don’t want to use Azure, you can use any other public cloud provider such as AWS. Most cloud providers have similar offerings to host a website along with a CDN, custom domain, and HTTPS.
Let’s deploy our website to the cloud!
We are going to be using an object store for hosting and we will use a CDN to reduce page load time for our users across the world. We will configure a custom domain and HTTPS on the CDN and not on the object store.
Side note: If the images in this post are not visible clearly, click/tap on them to zoom in.
Step 1 - Prerequisites
Create a free Azure account if you don’t have one by following the instructions provided here. Next, install Azure CLI for your operating system by following the instructions provided here. Verify that the CLI has been installed correctly by running “az –version” in your terminal. If it is installed correctly it should say “Your CLI is up-to-date” as shown below
> az --version
azure-cli 2.10.1
command-modules-nspkg 2.0.3
core 2.10.1
nspkg 3.0.4
telemetry 1.0.4
Python location 'C:\Program Files (x86)\Microsoft SDKs\Azure\CLI2\python.exe\'
Extensions directory 'C:\Users\lalit\.azure\cliextensions\'
Python (Windows) 3.6.8 (tags/v3.6.8:3c6b436a57, Dec 23 2018, 23:31:17) [MSC v.1916 32 bit (Intel)]
Legal docs and information: aka.ms/AzureCliLegal
Your CLI is up-to-date.
Please let us know how we are doing: https://aka.ms/azureclihats
and let us know if you're interested in trying out our newest features: https://aka.ms/CLIUXstudy
Login to Azure using the CLI by running “az login” in your terminal and following the onscreen instructions.
Step 2 - Create an Azure Storage Account
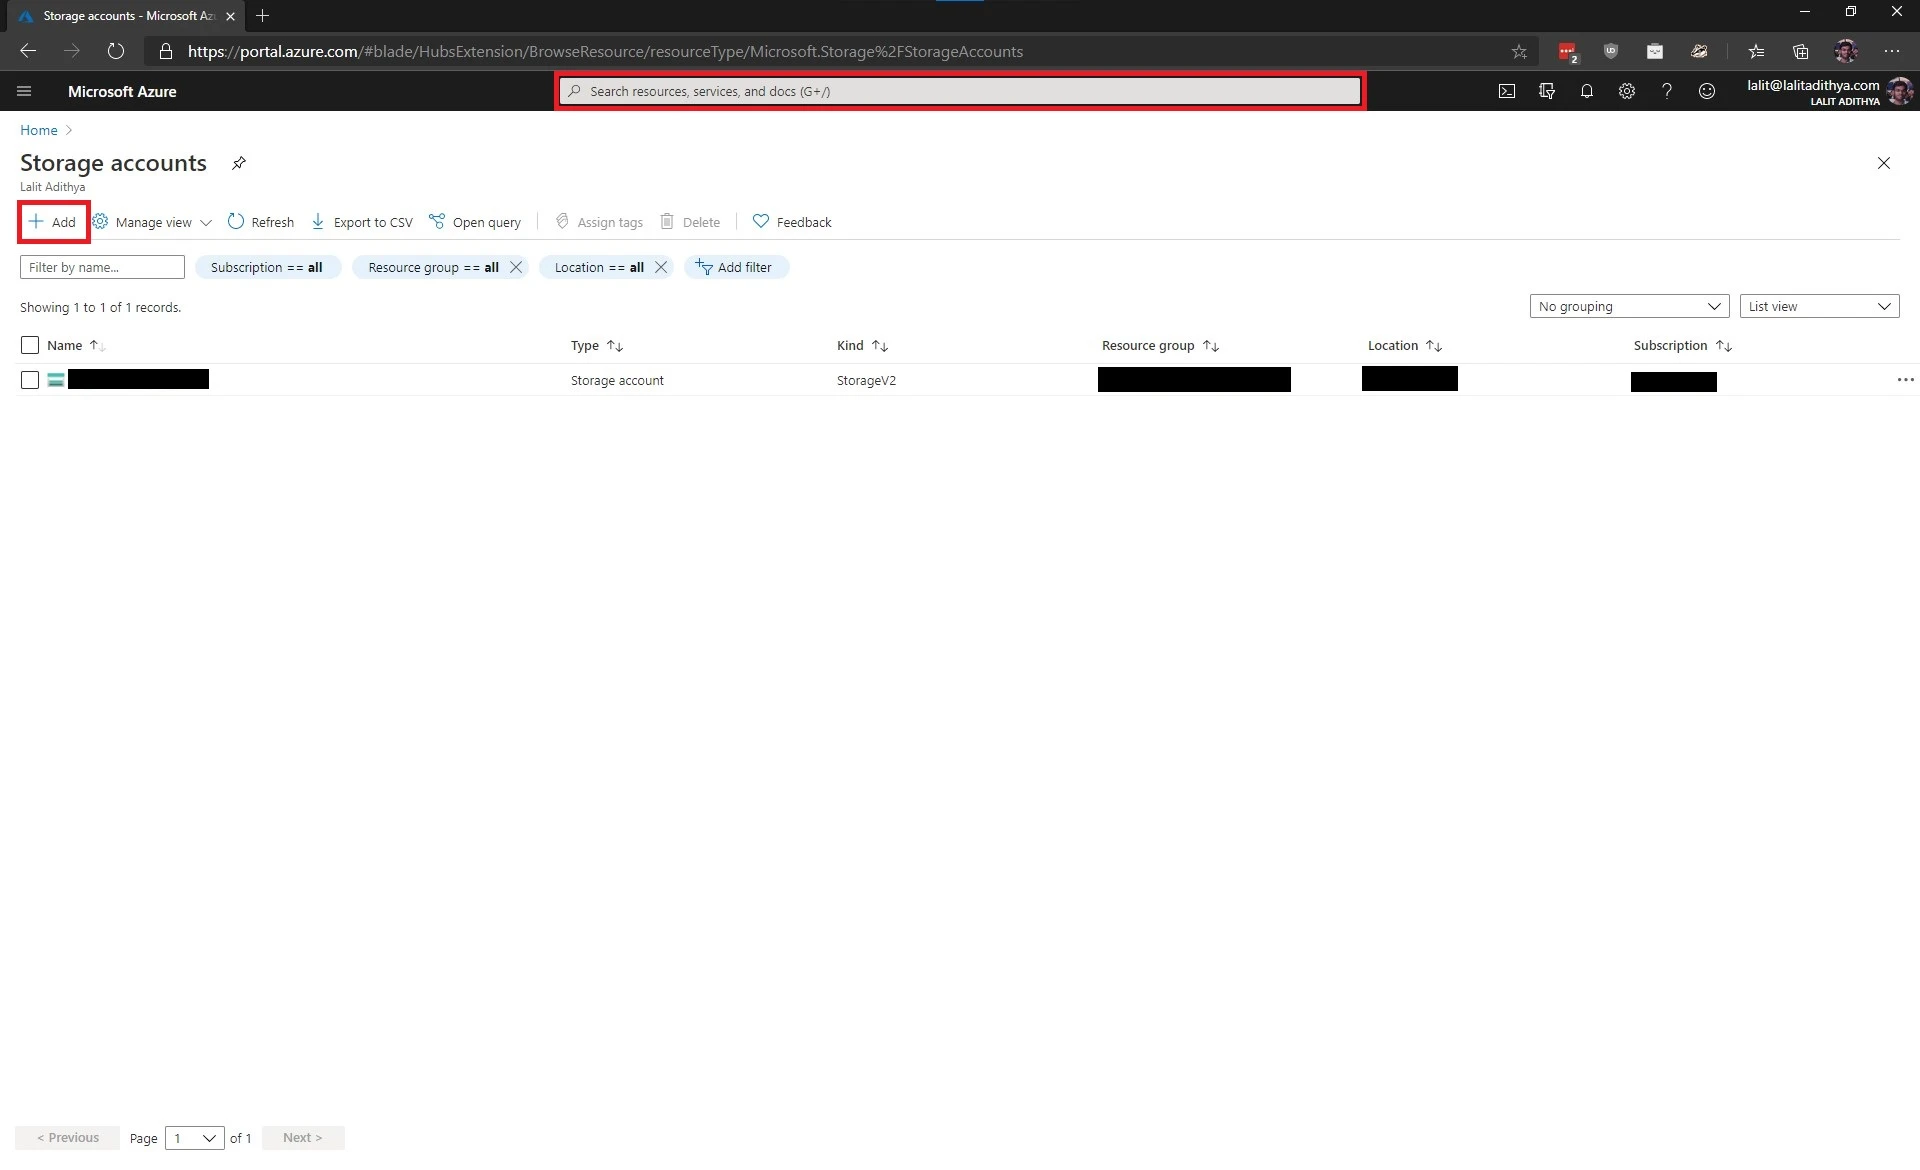
Open the Azure portal by visiting “portal.azure.com” in your web browser. Create a new storage account by searching for “Storage Accounts” in the search bar on the top of the screen and then clicking on the “Add” button as shown.
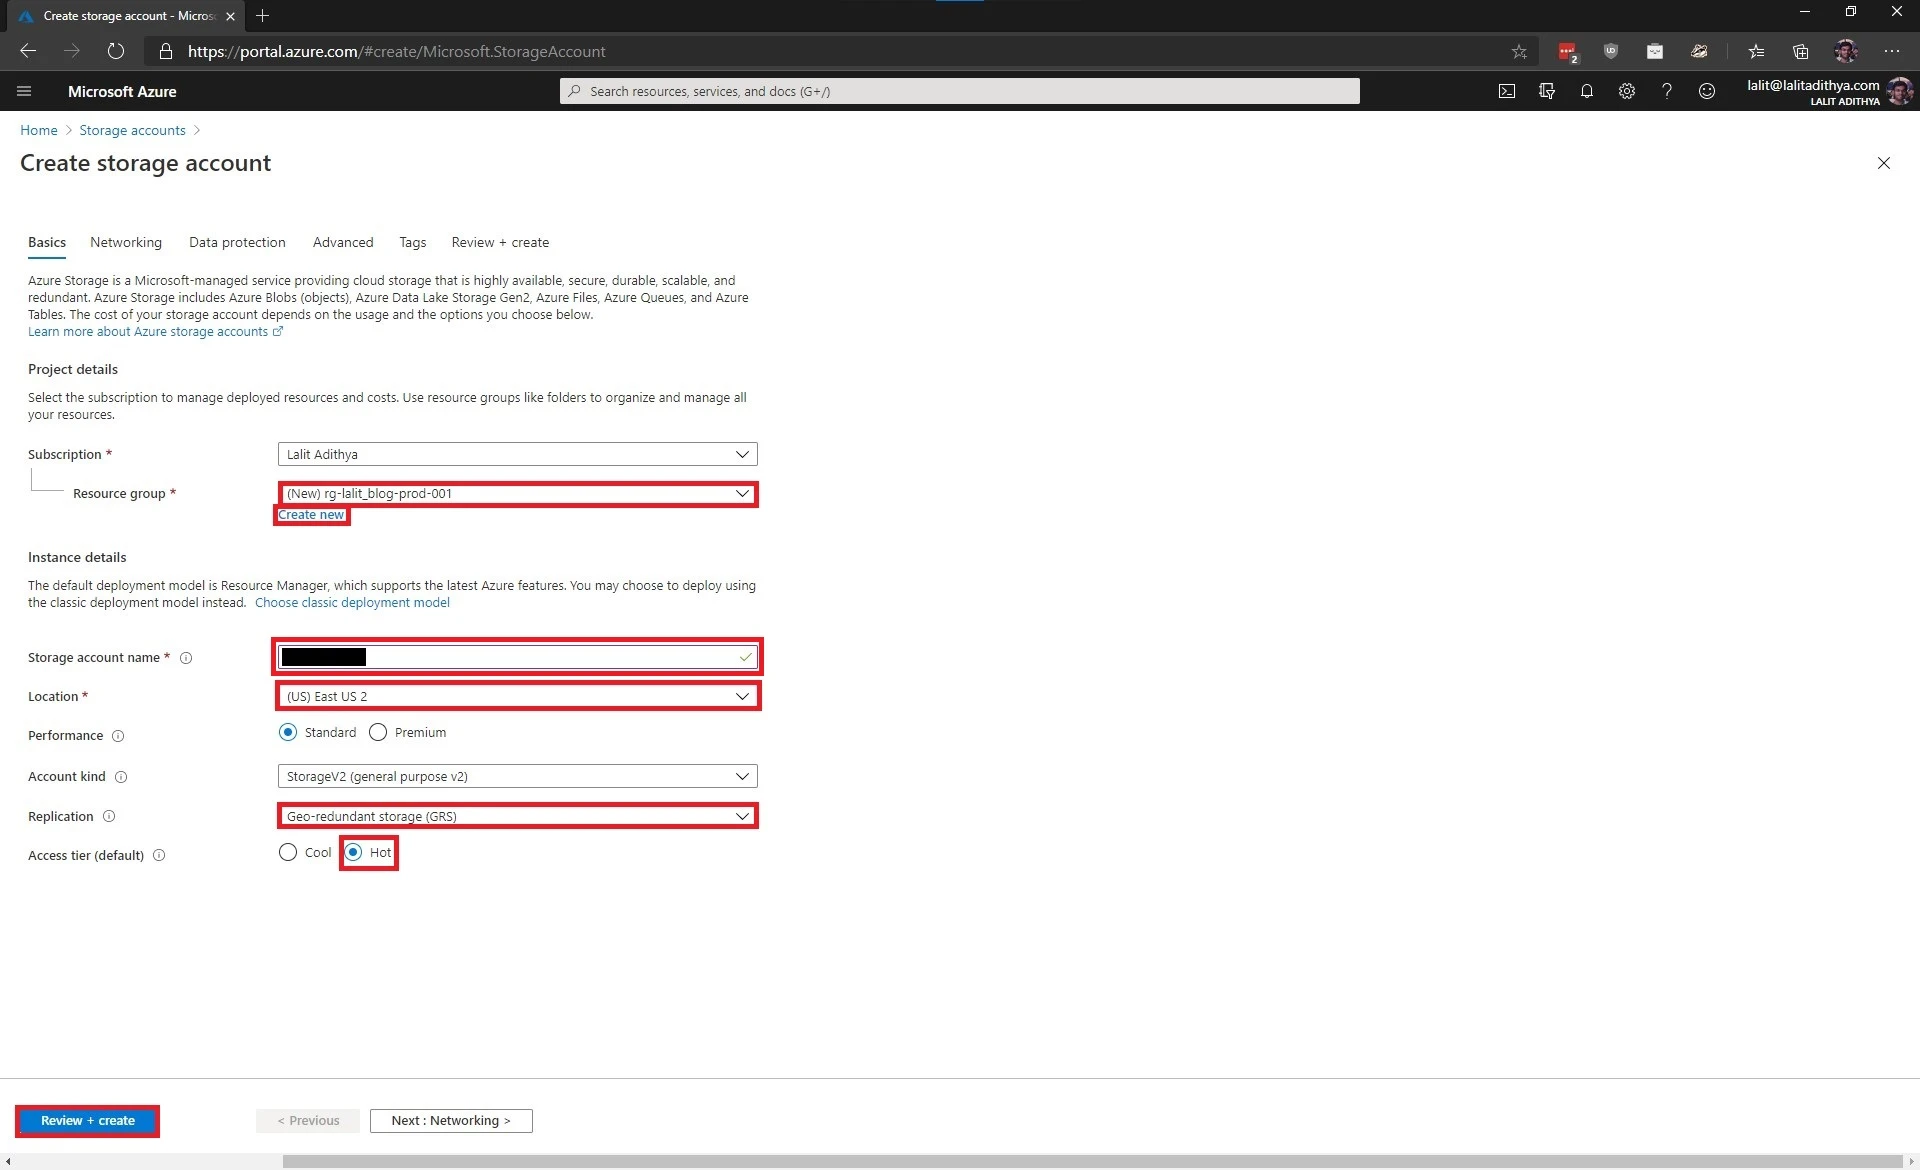
In the multi-page form that appears, select a resource group if you already have one or create a new resource group by clicking on the “Create new” button. Select “General Purpose V2” for kind; “Hot” for access tier and “Geo-redundant storage (GRS)” for replication. Give your storage account a name, pick one of the recommended locations and click on “Review + create”. The location of the storage account does not matter because we will be using a CDN which will cache our website across the globe.
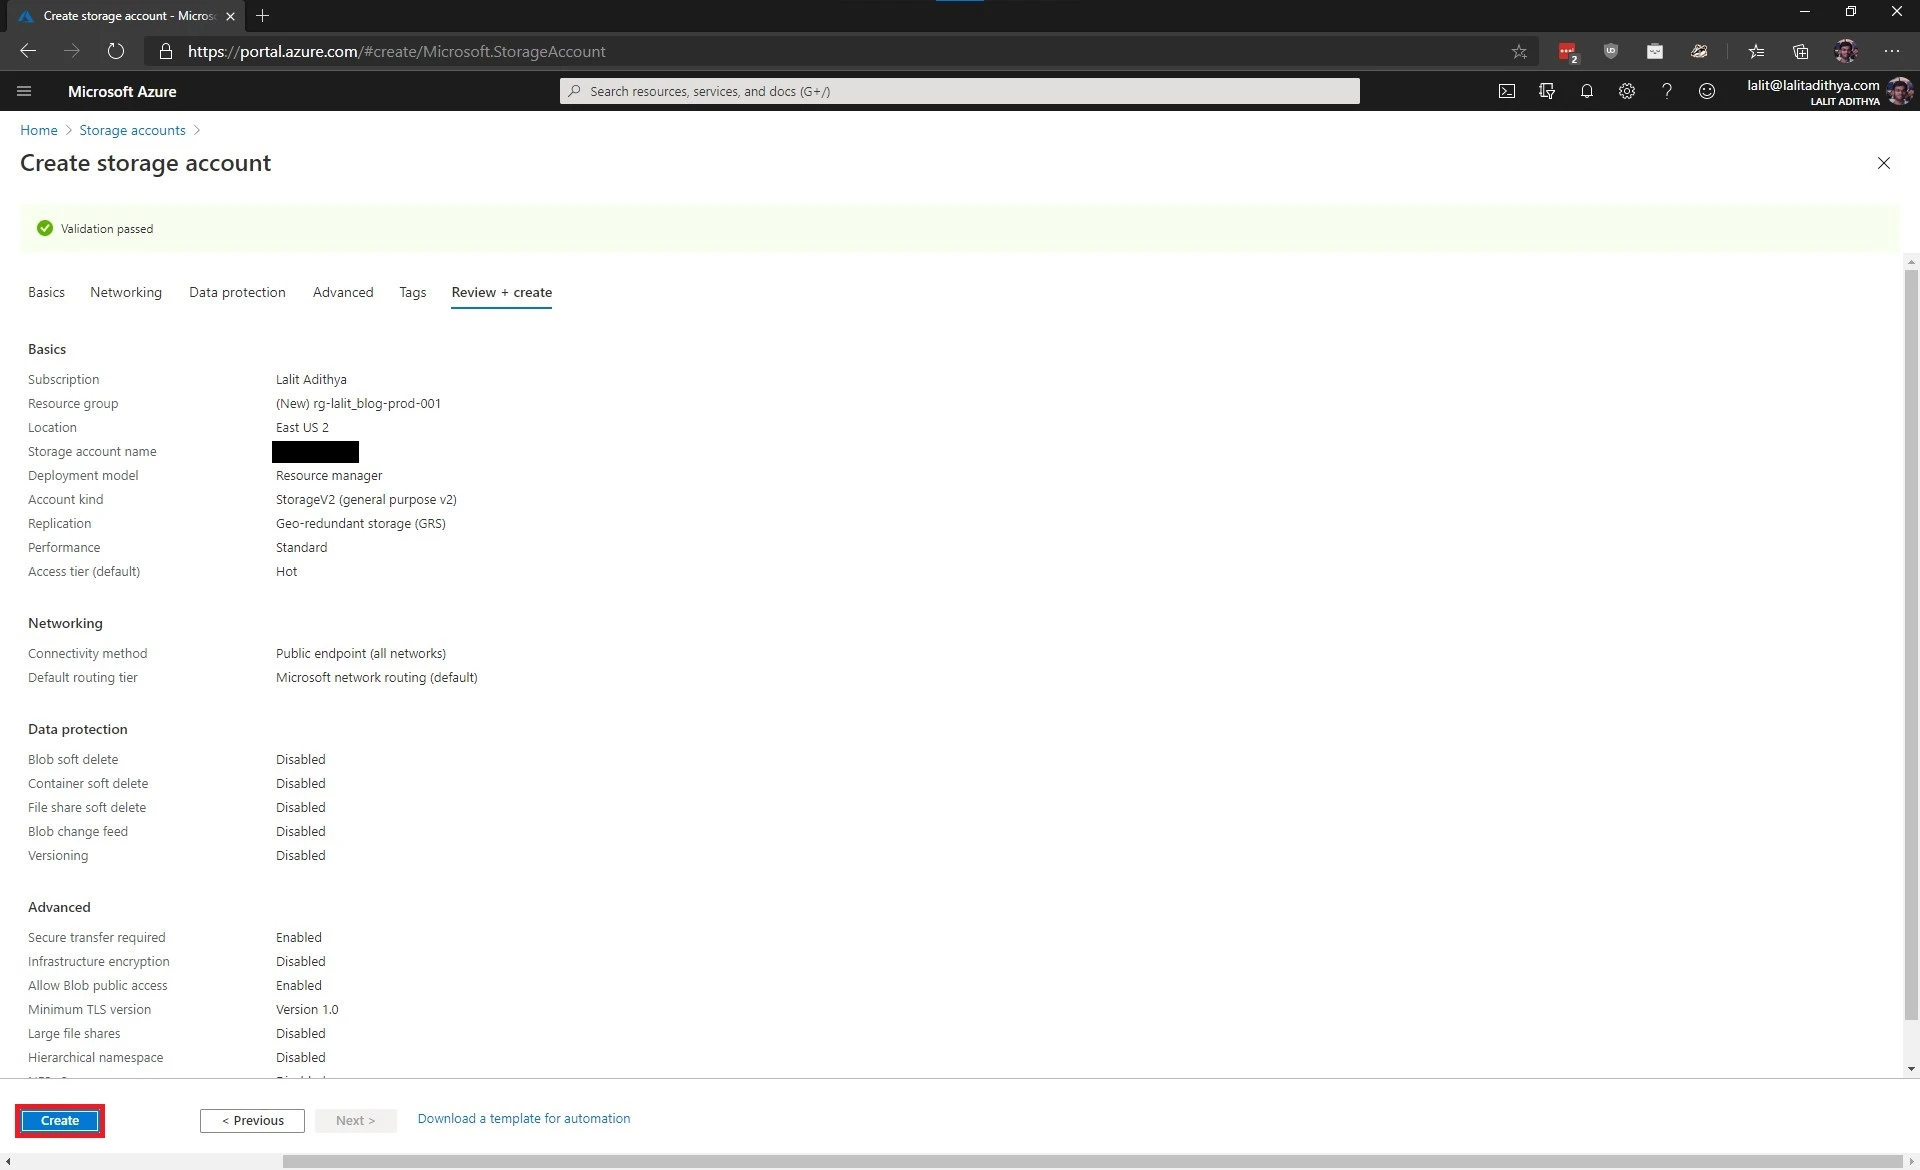
Give Azure a few seconds to run some validations. When it is done, click on the “Create” button as shown.
Azure will now start deploying your request and you should see something like this

While the deployment is in progress, let us take a closer look at the options that we selected:
- Resource Group - A resource group is a container for your resources. It is recommended that you create one resource group per project or resource type.
- Storage Account Name - It is a globally unique name that is used to identify your storage account.
- Replication - Redundancy ensures that your storage account meets the Service-Level Agreement (SLA). We picked GRS which means that Azure will copy our data synchronously three times in the primary region using LRS. It then copies our data asynchronously to the secondary region which will then be replicated using LRS. This will ensure that our website will be up even if an entire Azure region or datacenter is down
- Access Tier - We picked the “hot” tier as our data will be frequently accessed
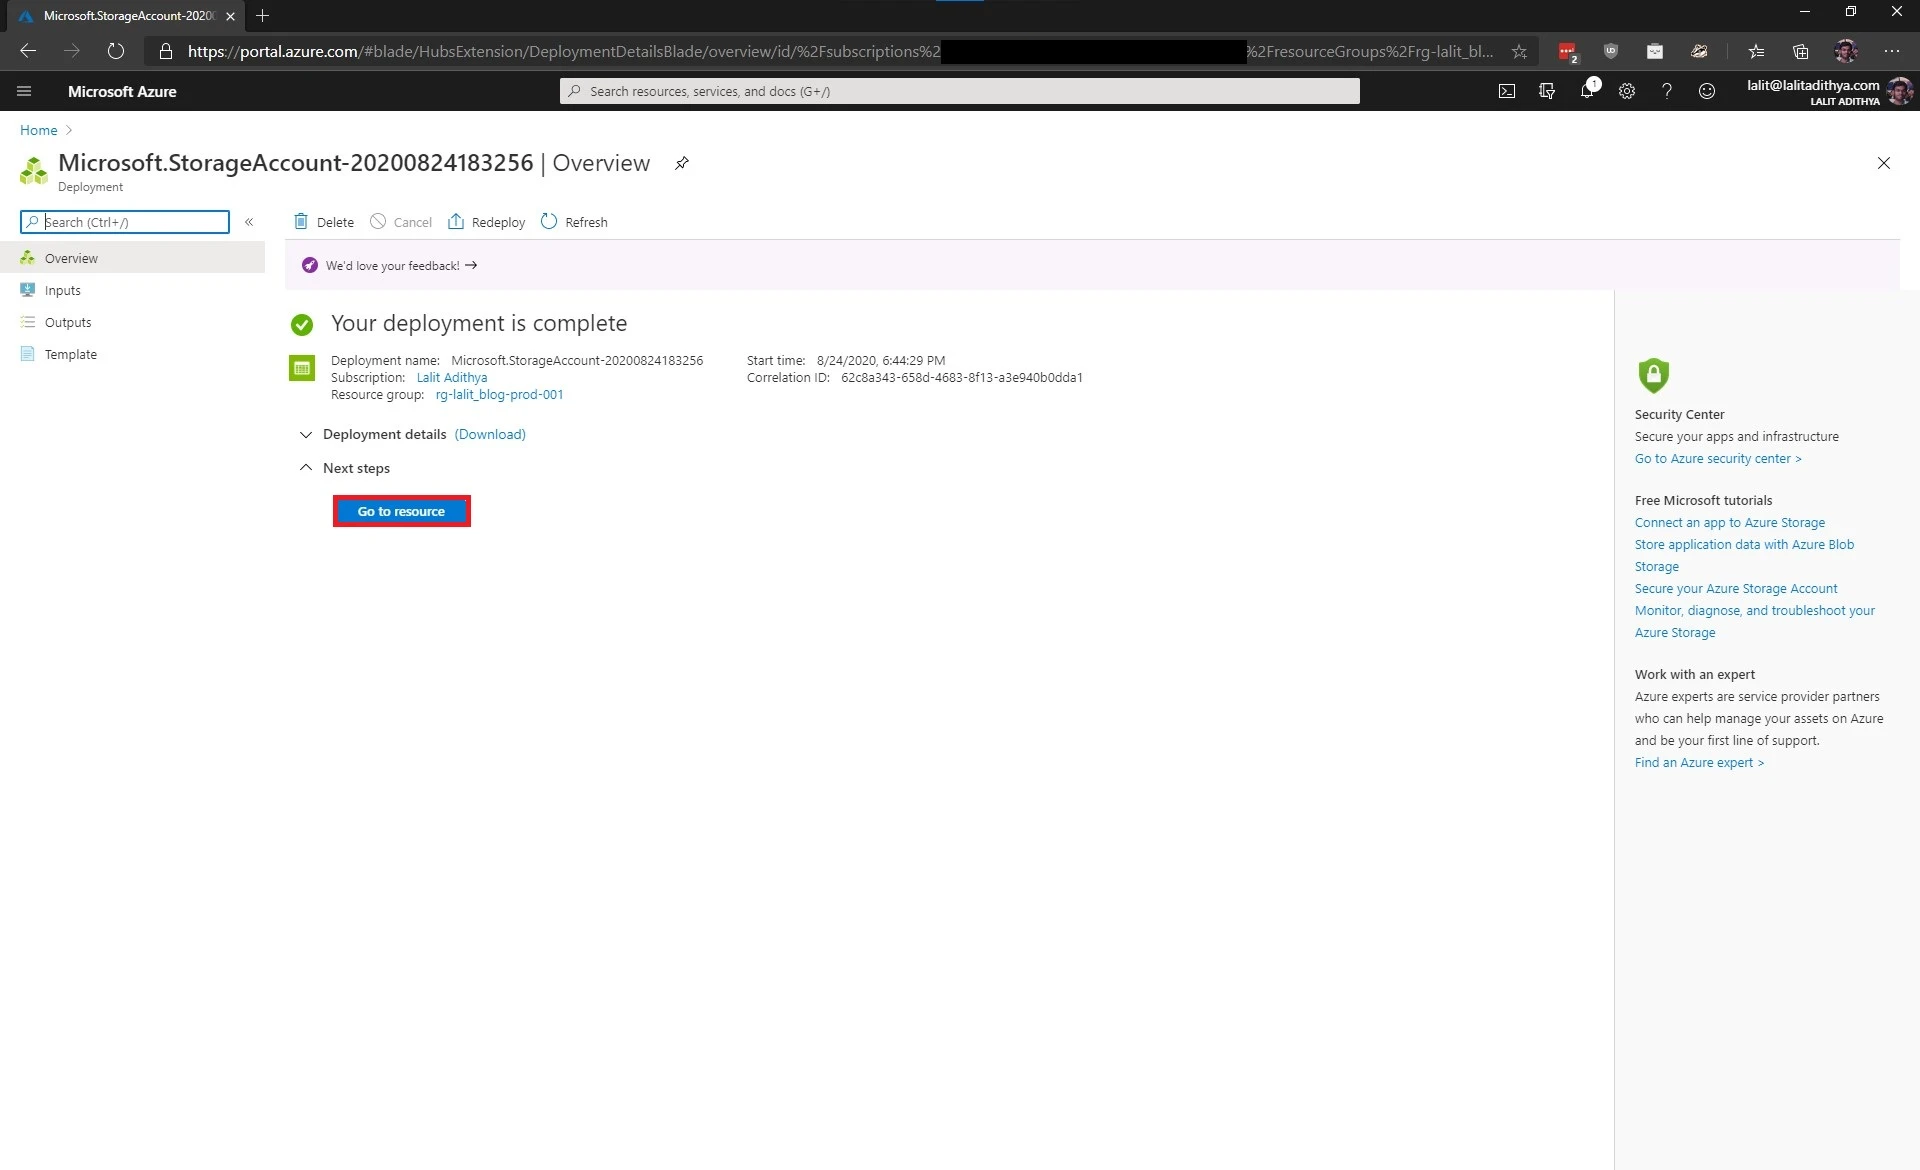
Once the deployment is complete, you should see something like this. Click on “Go to resource” to go to your storage account.
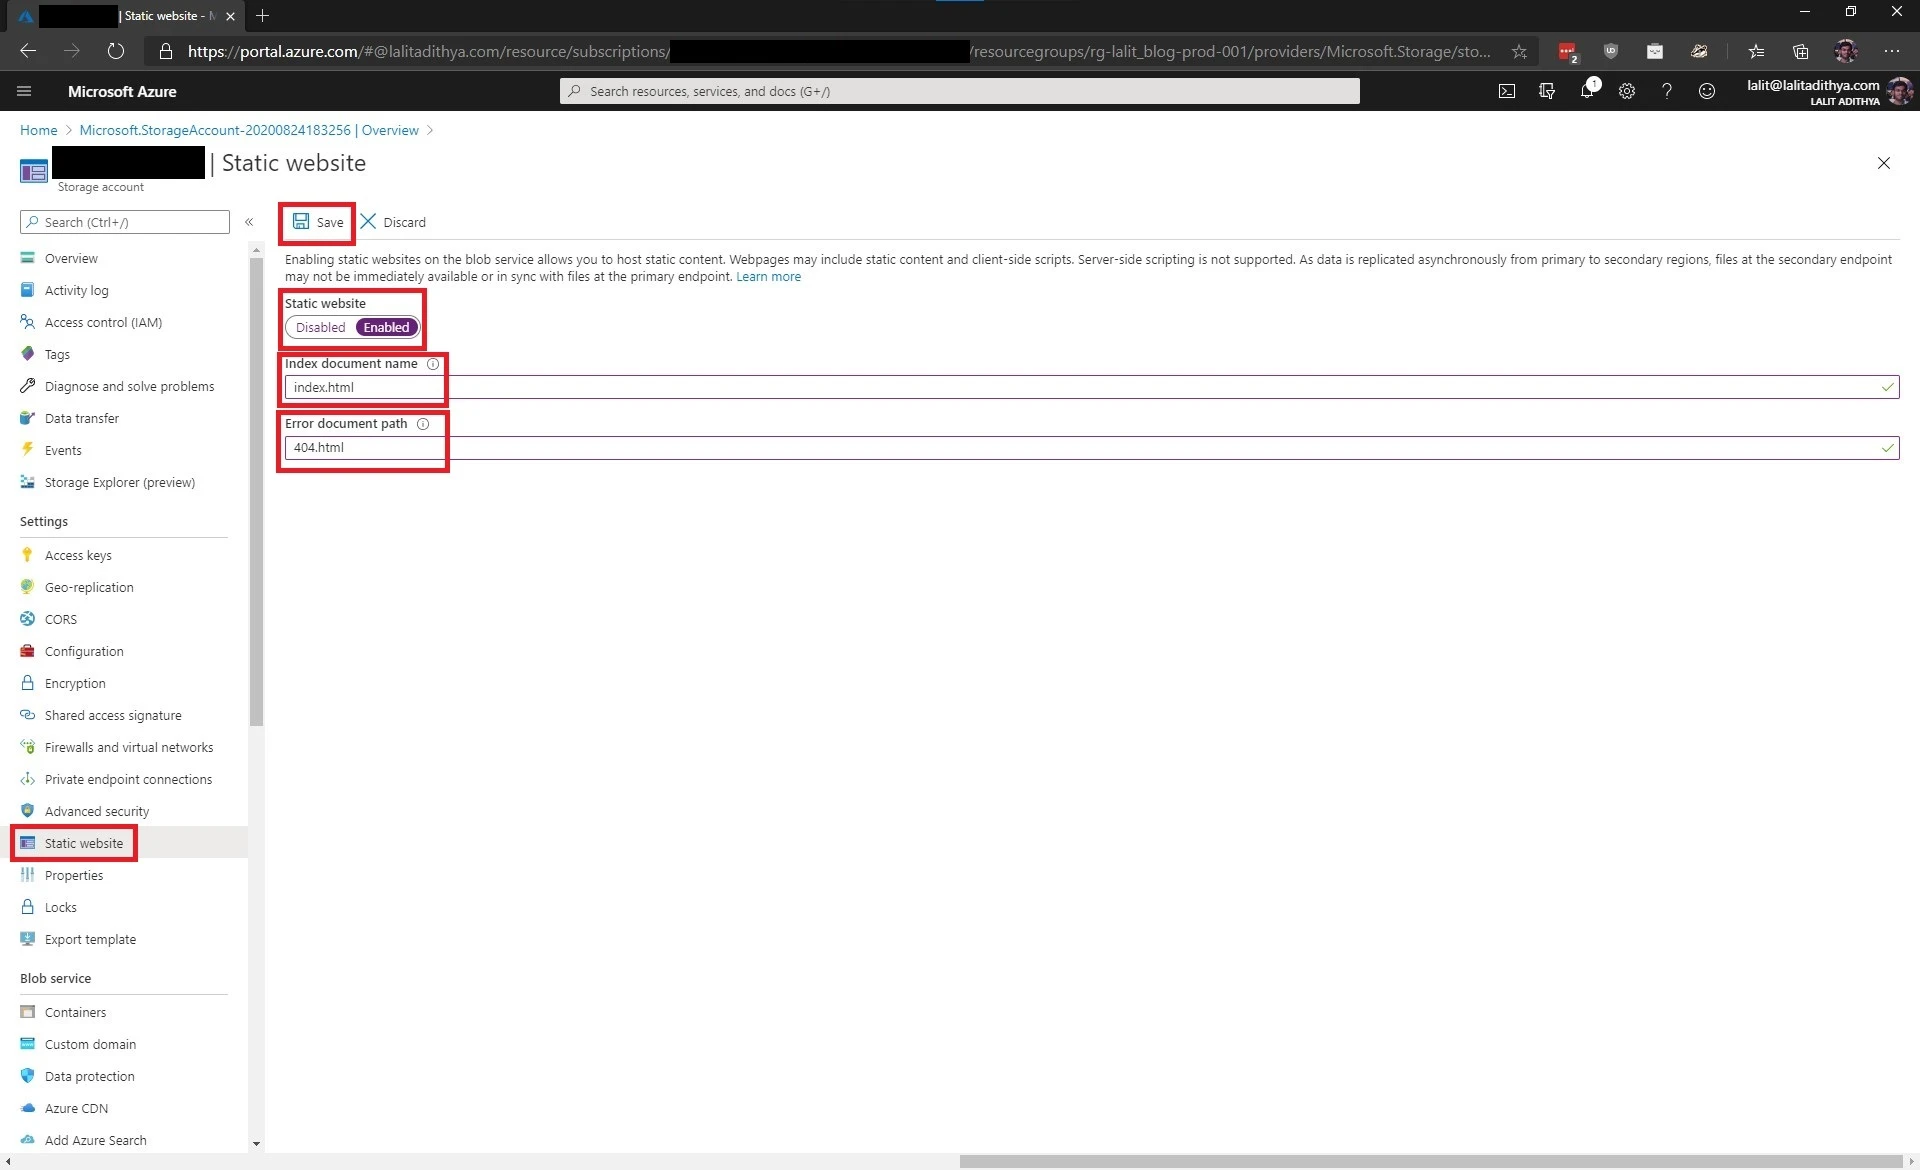
Enable the static website feature by clicking on the “Static website” link in the left navigation bar and then toggling the switch to “Enabled”. In the “Index document name” enter “index.html” and in the “Error document name” enter “404.html” and then hit “Save”.
Once you hit save you should see something like this.
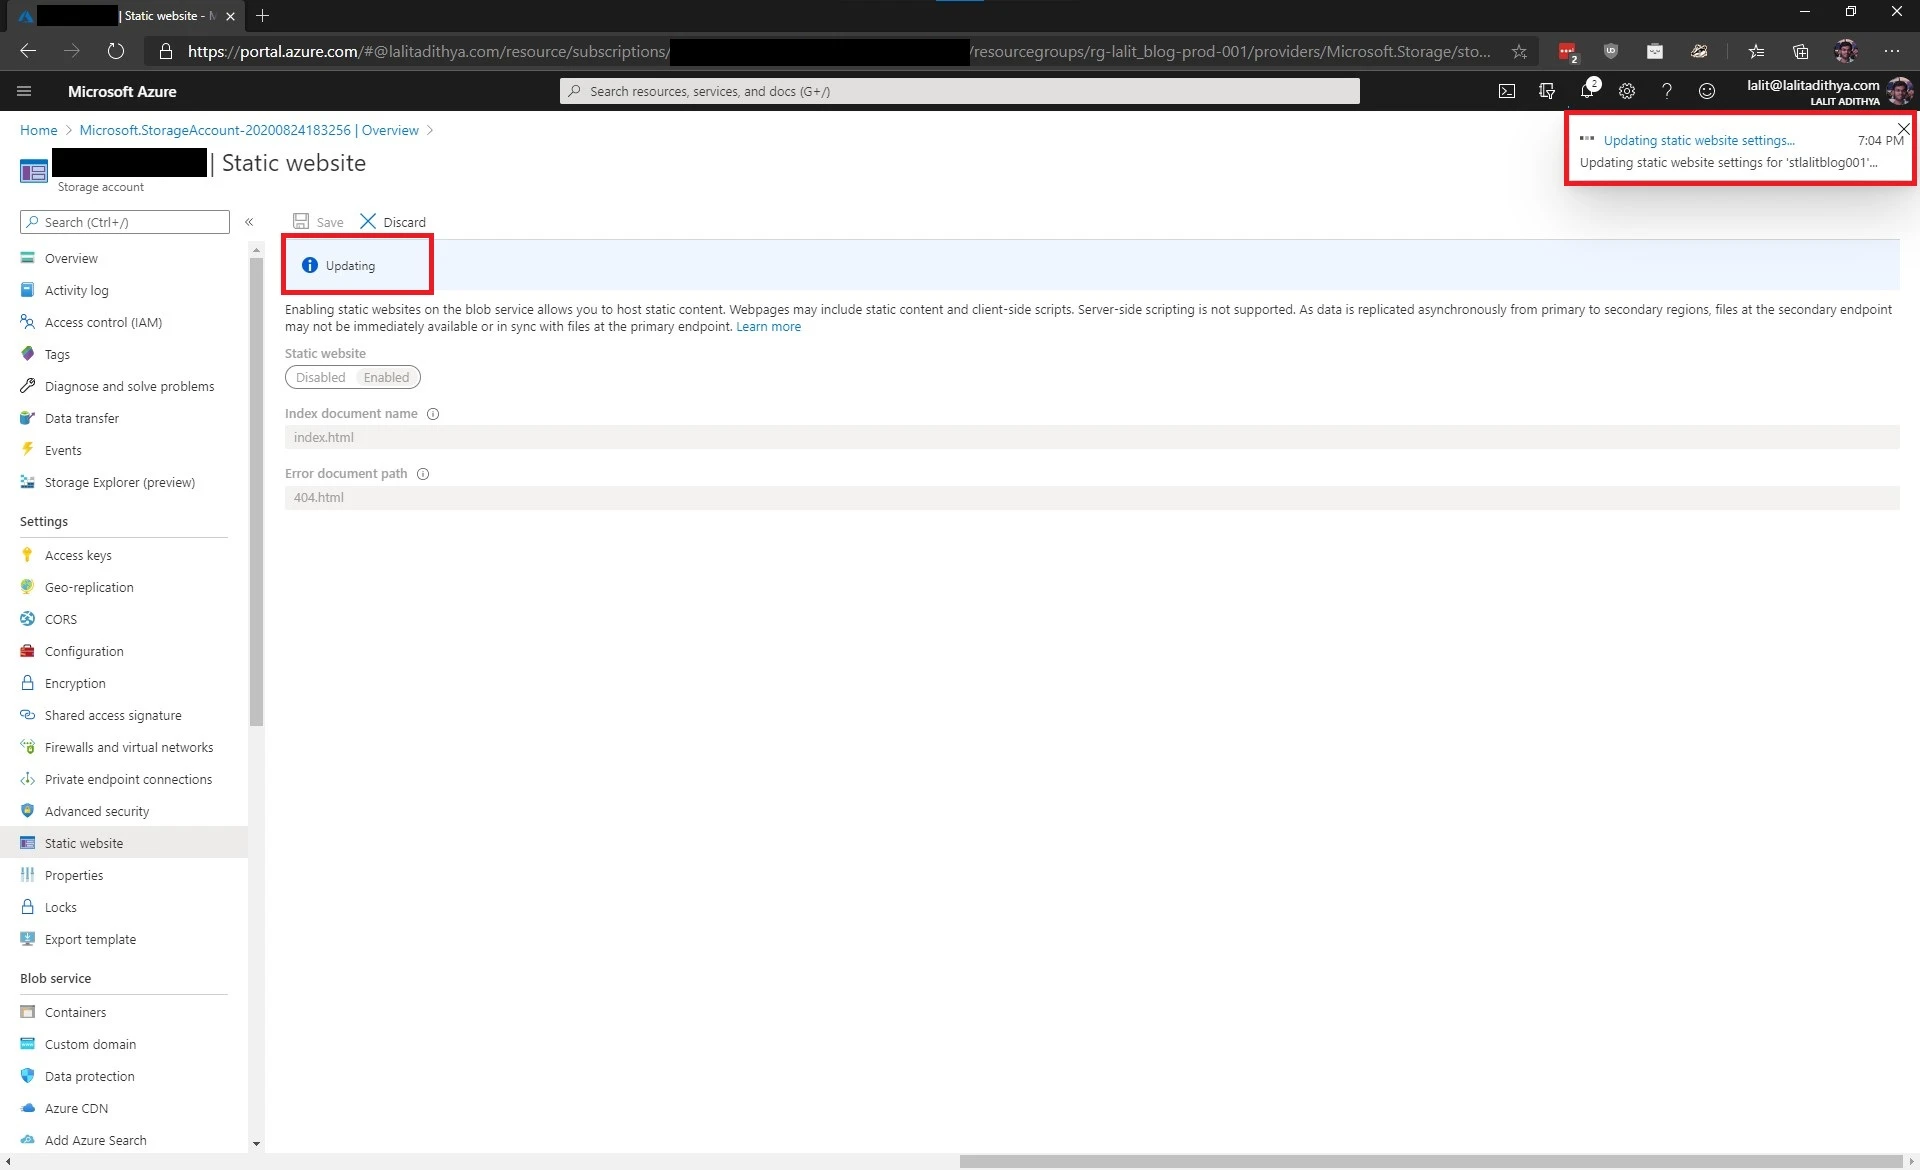
While that is happening, let us understand what we just did. In the previous part of this series, we saw that Jekyll generates HTML and CSS for our website and it will place them in the “_site” folder. The static website feature allows us to upload these HTML, CSS, JS, and image files to a special container called “$web” and Azure will take care of serving these files to our users. All the complex server maintenance and scaling are taken care by Azure and we don’t have to worry about it.
Once the deployment is done, you should see
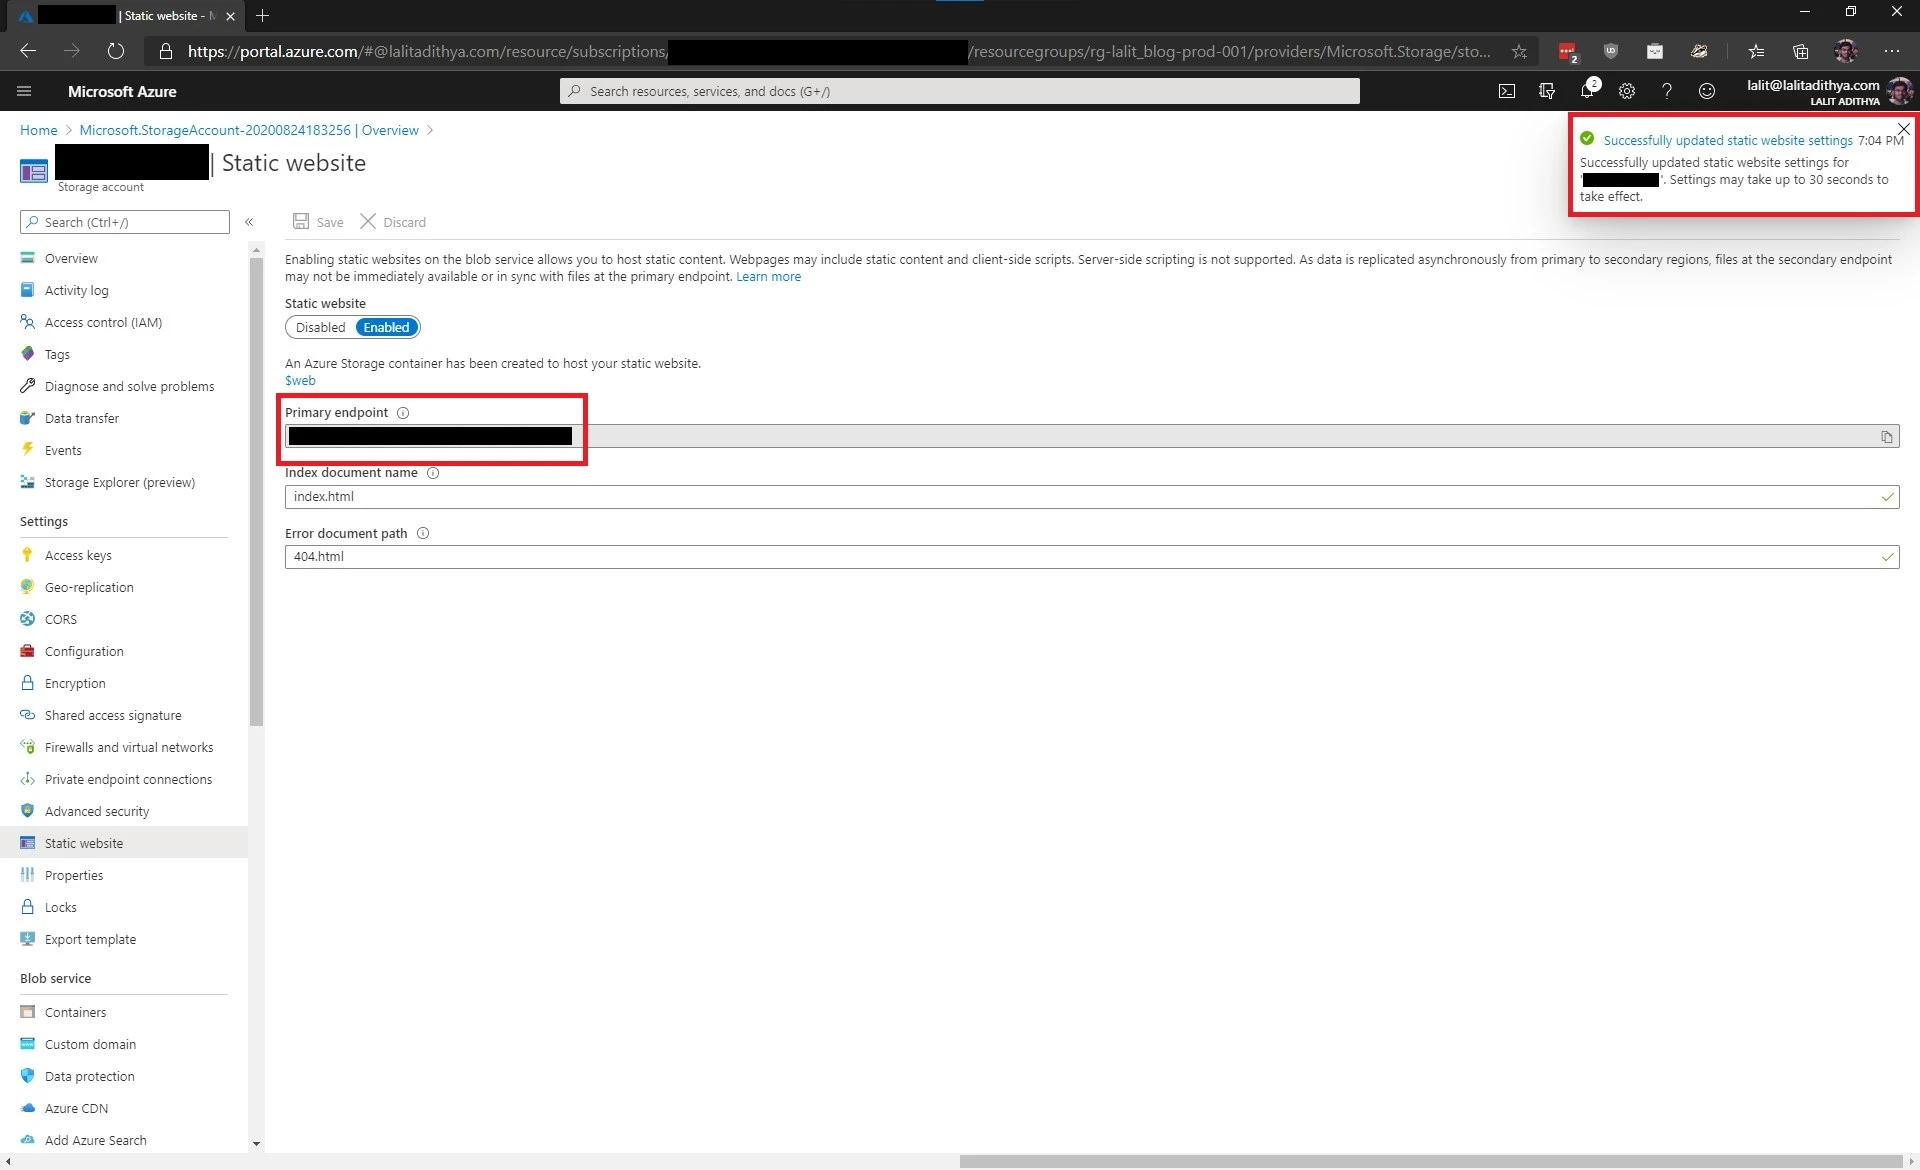
Note down the “Primary Endpoint” someplace safe. It will come in very handy later. This is the Microsoft provided URL for our website. If you open a new tab in your browser and navigate to the endpoint now you will see an error page, i.e., a not found page. This is because we have not deployed our website to the “$web” container yet.
Step 3 - Deploy!
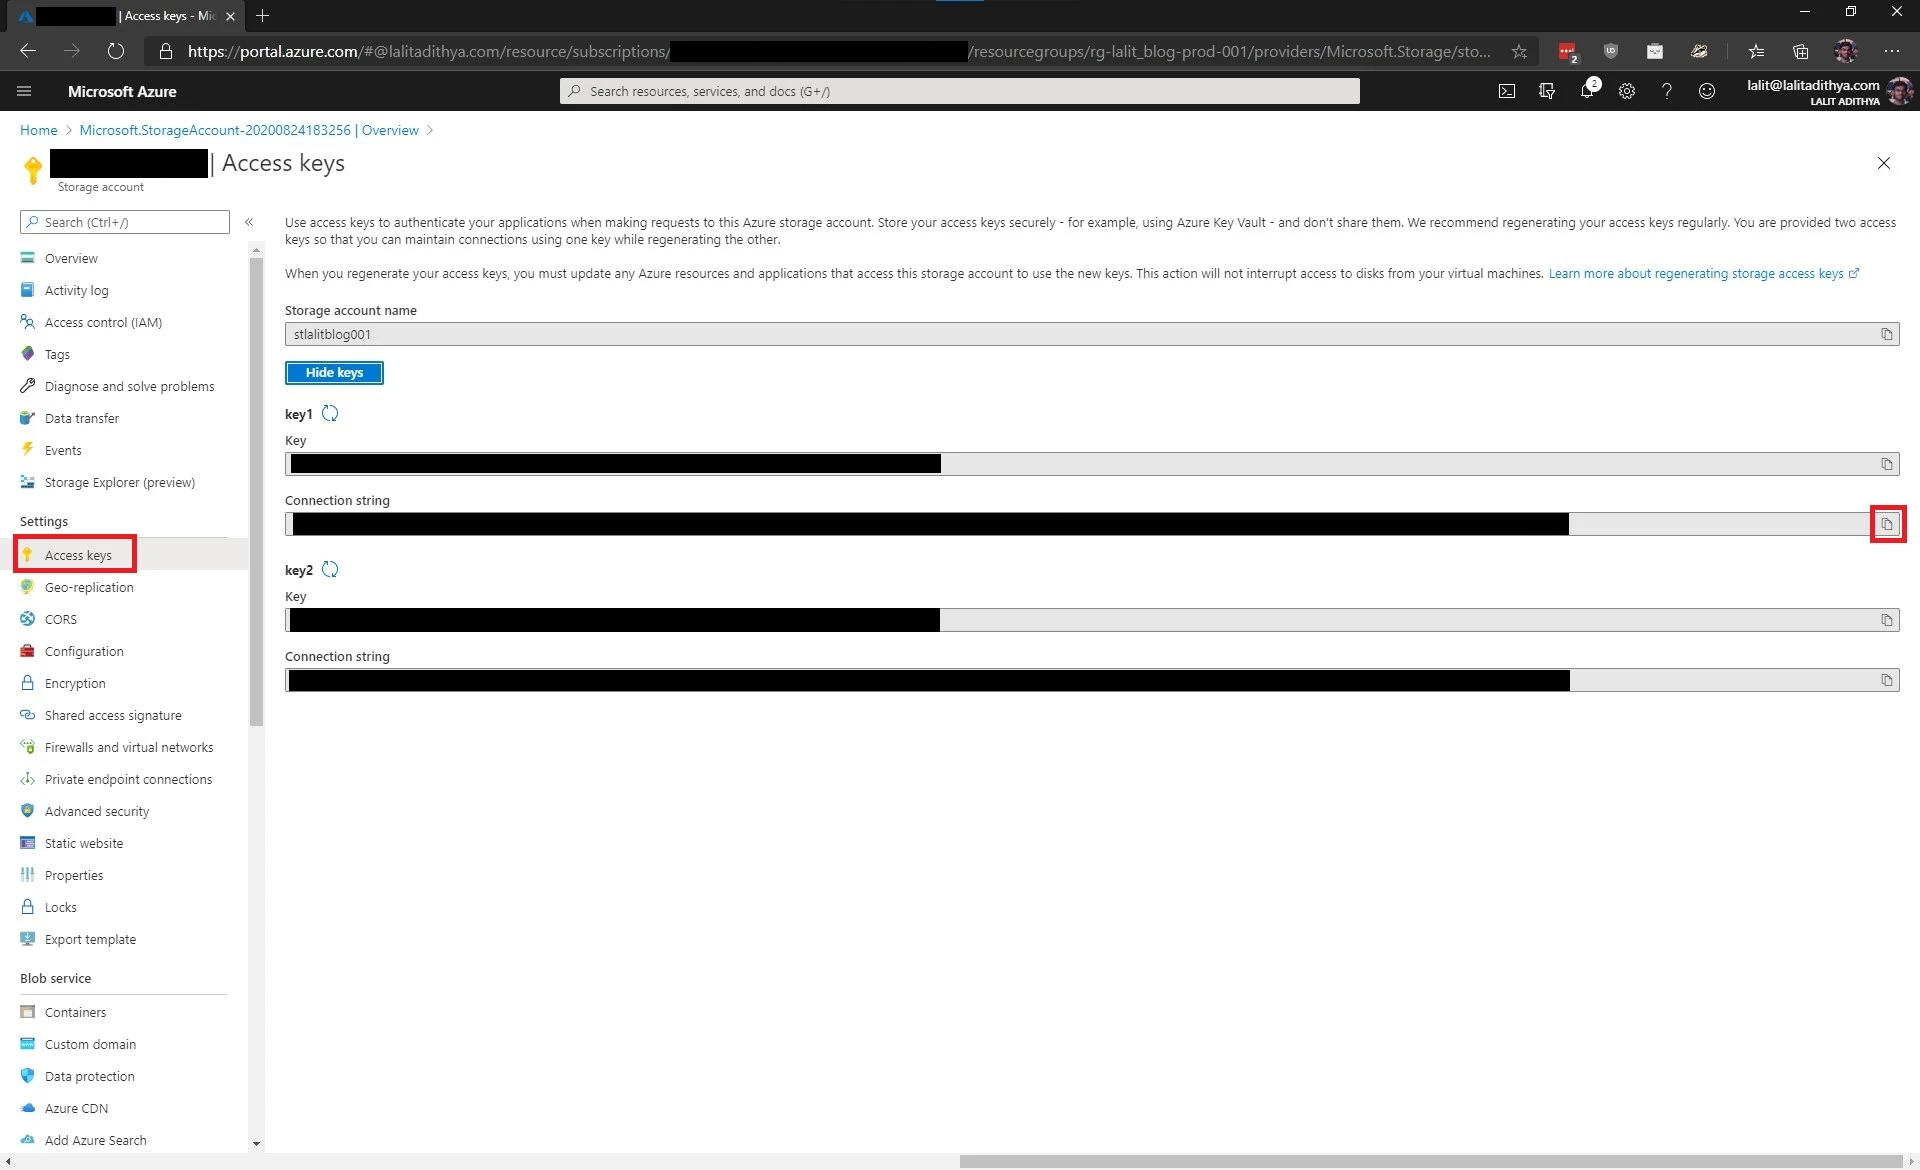
To deploy your website, you will need the connection string for your storage account. Get the connection string by clicking on “Access Keys” in the left navigation pane and then copy the connection string (under key 1) as shown. Note: The connection string is a password that provides complete access (root access) to all the files inside in your storage account. Do not share it with anybody.
Navigate to the directory where you stored your website. Build your website by running “JEKYLL_ENV=production bundle exec jekyll build” in your terminal. When the build completes successfully, enter the command “az storage blob sync -c ‘$web’ -s ‘_site’ –connection-string ‘«BLOB_CONNECTION_STRING»‘” in your terminal to deploy your website to your storage account.
> cd .\blog\my-awesome-site\
> JEKYLL_ENV=production bundle exec jekyll build
Configuration file: /mnt/c/Users/lalit/blog/my-awesome-site/_config.yml
            Source: /mnt/c/Users/lalit/blog/my-awesome-site
       Destination: /mnt/c/Users/lalit/blog/my-awesome-site/_site
 Incremental build: disabled. Enable with --incremental
      Generating...
                    done in 7.172 seconds.
Auto-regeneration: disabled. Use --watch to enable.
> az storage blob sync -c '$web' -s '_site' --connection-string '<<connection string>'
This command is in preview. It may be changed/removed in a future release.
Azcopy command: [...]
INFO: Any empty folders will not be processed, because source and/or destination doesn't have full folder support
Job 7dbd6075-cb6a-8c40-5d69-811004e79f3d has started
Log file is located at: C:\Users\lalit\.azcopy\7dbd6075-cb6a-8c40-5d69-811004e79f3d.log
INFO: azcopy.exe: A newer version 10.6.0 is available to download
0.0 %, 0 Done, 0 Failed, 8 Pending, 8 Total, 2-sec Throughput (Mb/s): 0
Job 7dbd6075-cb6a-8c40-5d69-811004e79f3d Summary
Files Scanned at Source: 8
Files Scanned at Destination: 0
Elapsed Time (Minutes): 0.0668
Number of Copy Transfers for Files: 8
Number of Copy Transfers for Folder Properties: 0
Total Number Of Copy Transfers: 8
Number of Copy Transfers Completed: 8
Number of Copy Transfers Failed: 0
Number of Deletions at Destination: 0
Total Number of Bytes Transferred: 69702
Total Number of Bytes Enumerated: 69702
Final Job Status: Completed
The “az storage blob sync …” will “sync” all the files that are present in the “_site” folder to the “$web” container. As we saw in part 1 of this series, the “_site” folder contains the HTML and CSS files Jekyll generated for your site. We perform a sync operation and not a batch because if there are files in the “$web” container that are not in the “_site” folder, they must be deleted. The sync command will do that, but the batch upload command will not. This will ensure that if you remove an image or post on your website it will be removed from your storage account as well.
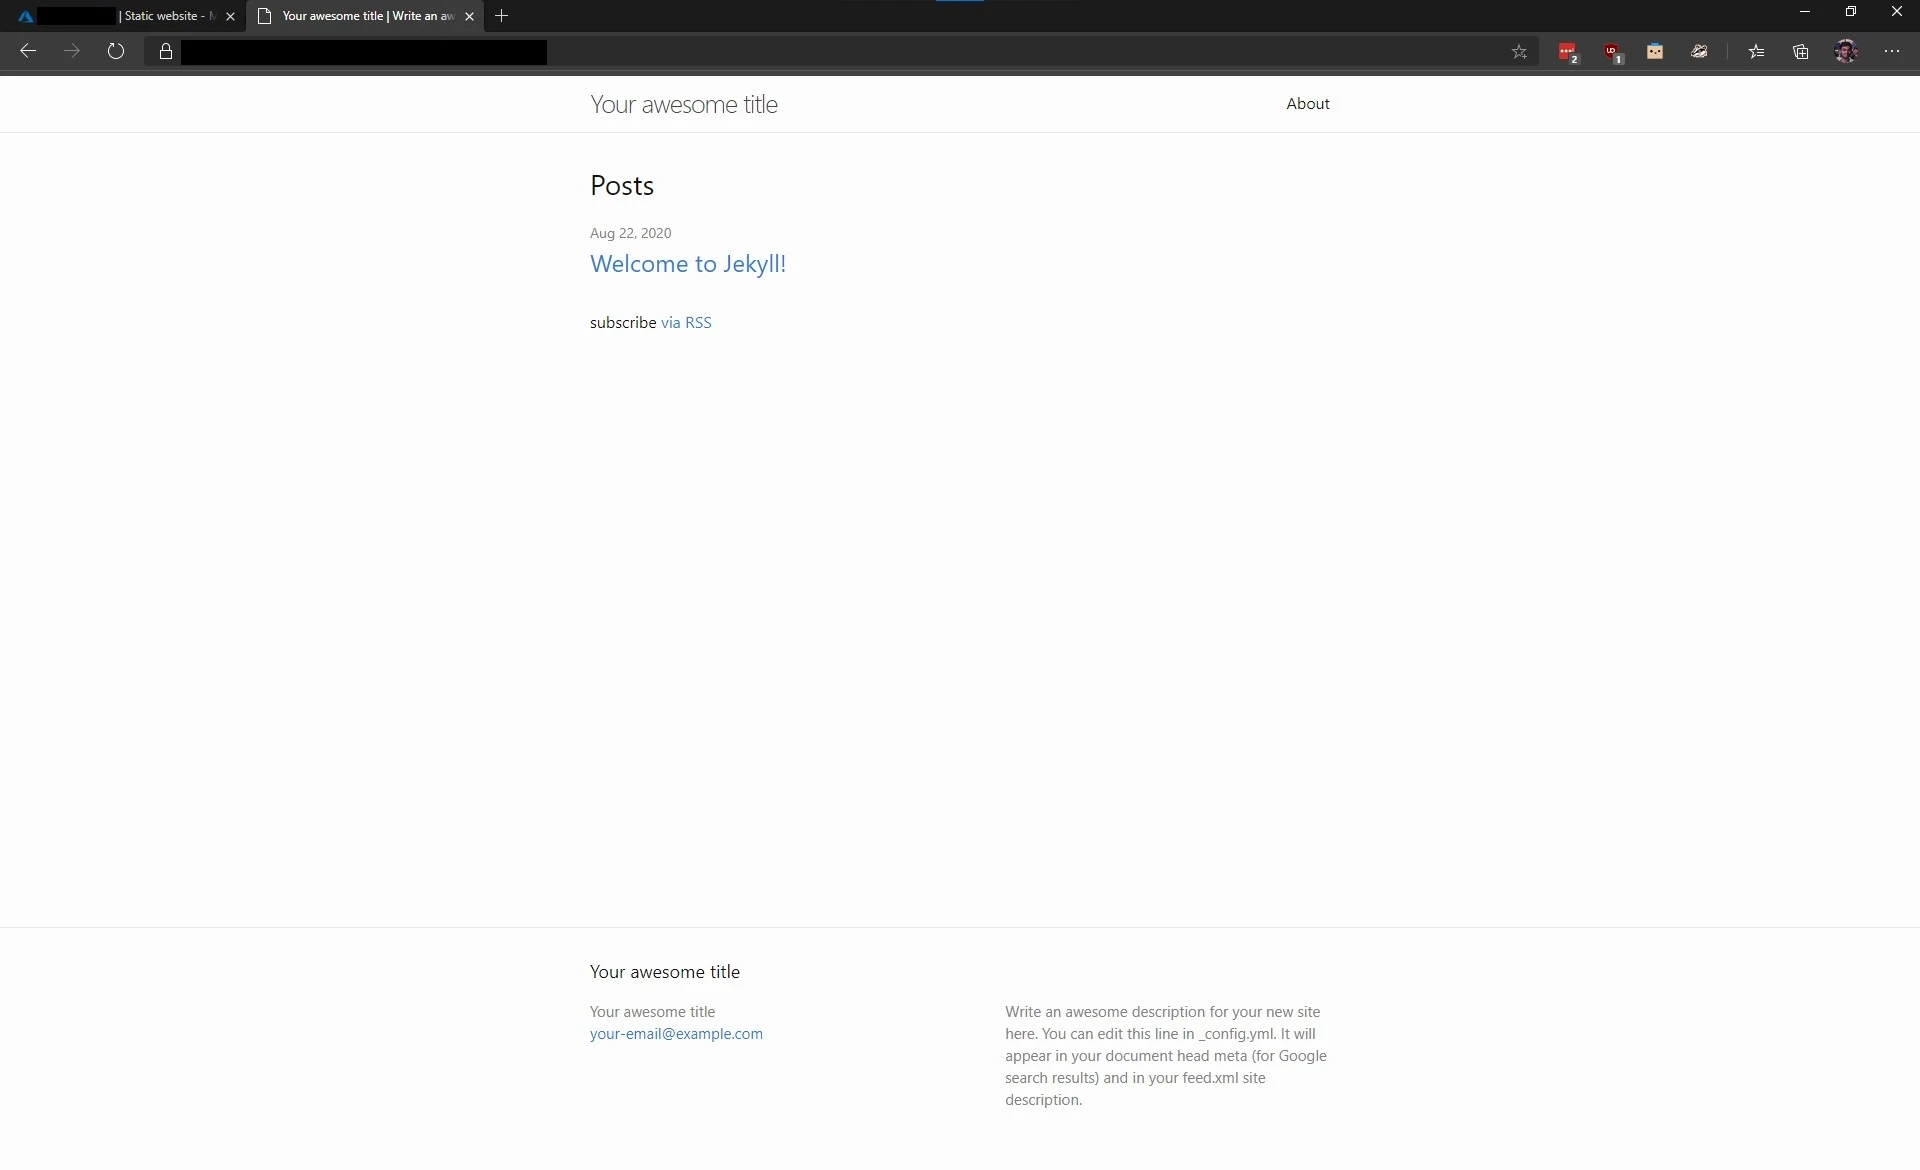
Now open a new tab in your browser and navigate to the “Primary endpoint” that you saved in the previous step and you should be able to see your website.
Step 4 - CDN!
Let us add a content delivery network (CDN). A CDN will cache our website across the world in its points of presence (POPs). This will ensure quick transfer of our HTML, CSS, JS, and images to our users’ devices.
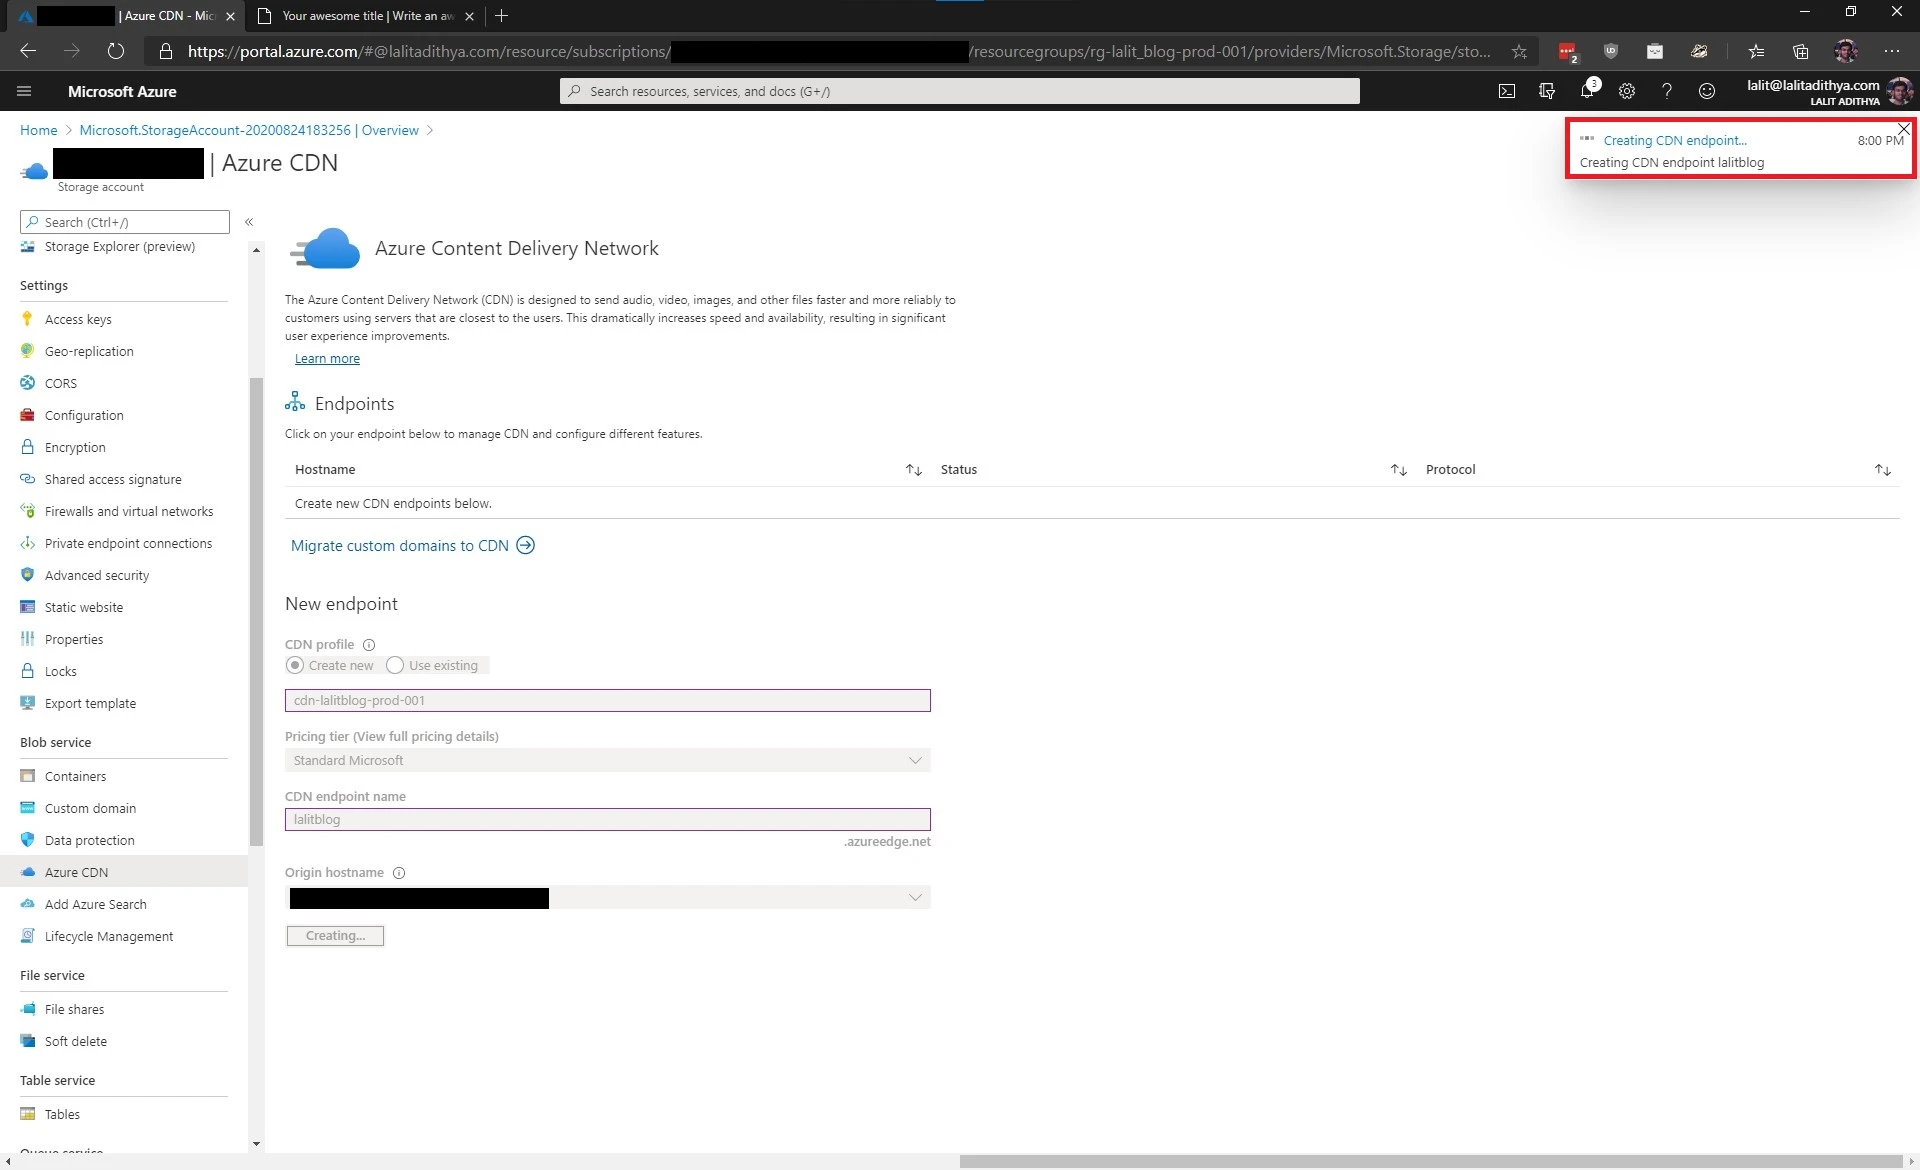
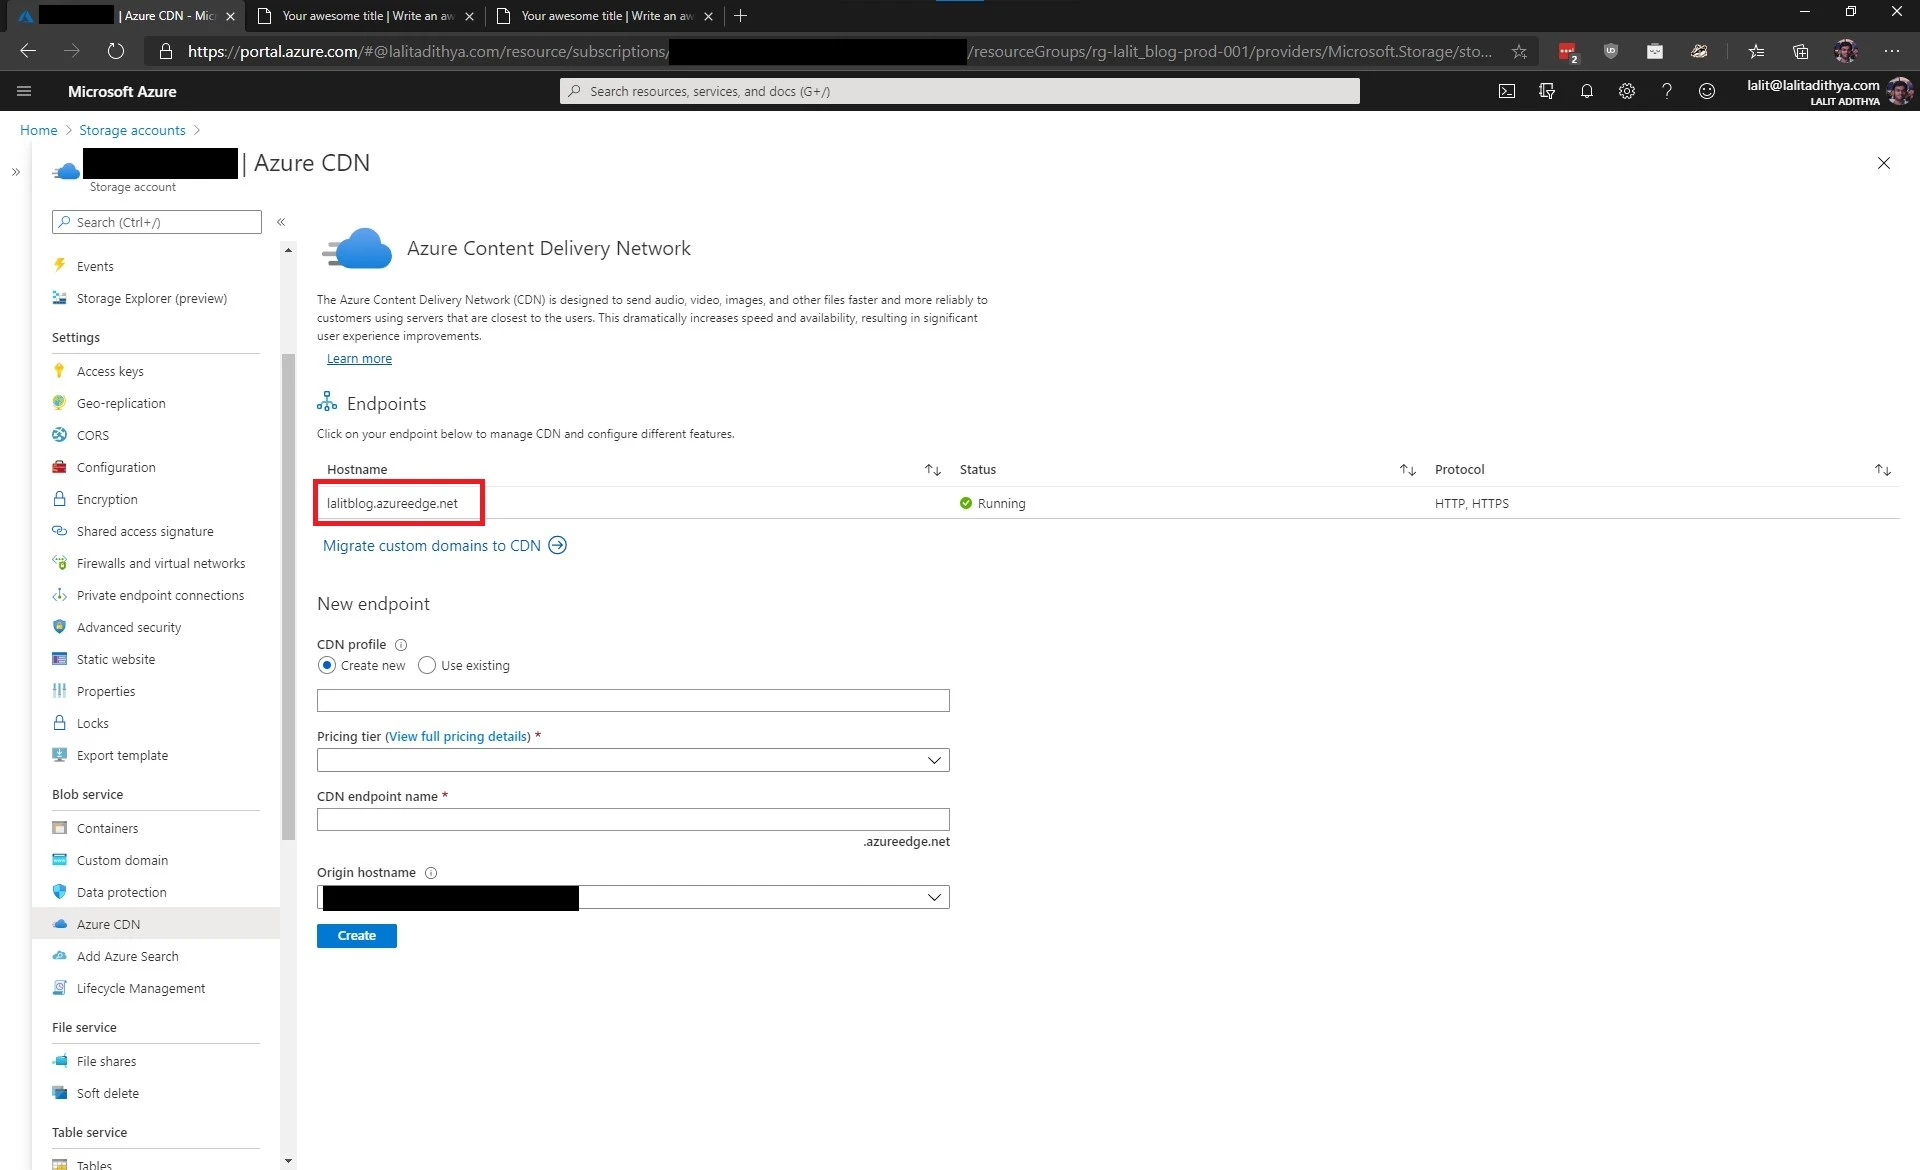
To add a CDN, click on the “Azure CDN” in the left navigation and in the form that appears, enter a “CDN profile name” in the first text box. Select “Standard Microsoft” for the pricing tier and provide a memorable URL for the “CDN endpoint name”. Ensure that in the “Origin hostname” the static website option is selected and then hit “Create”

You should now see something like this
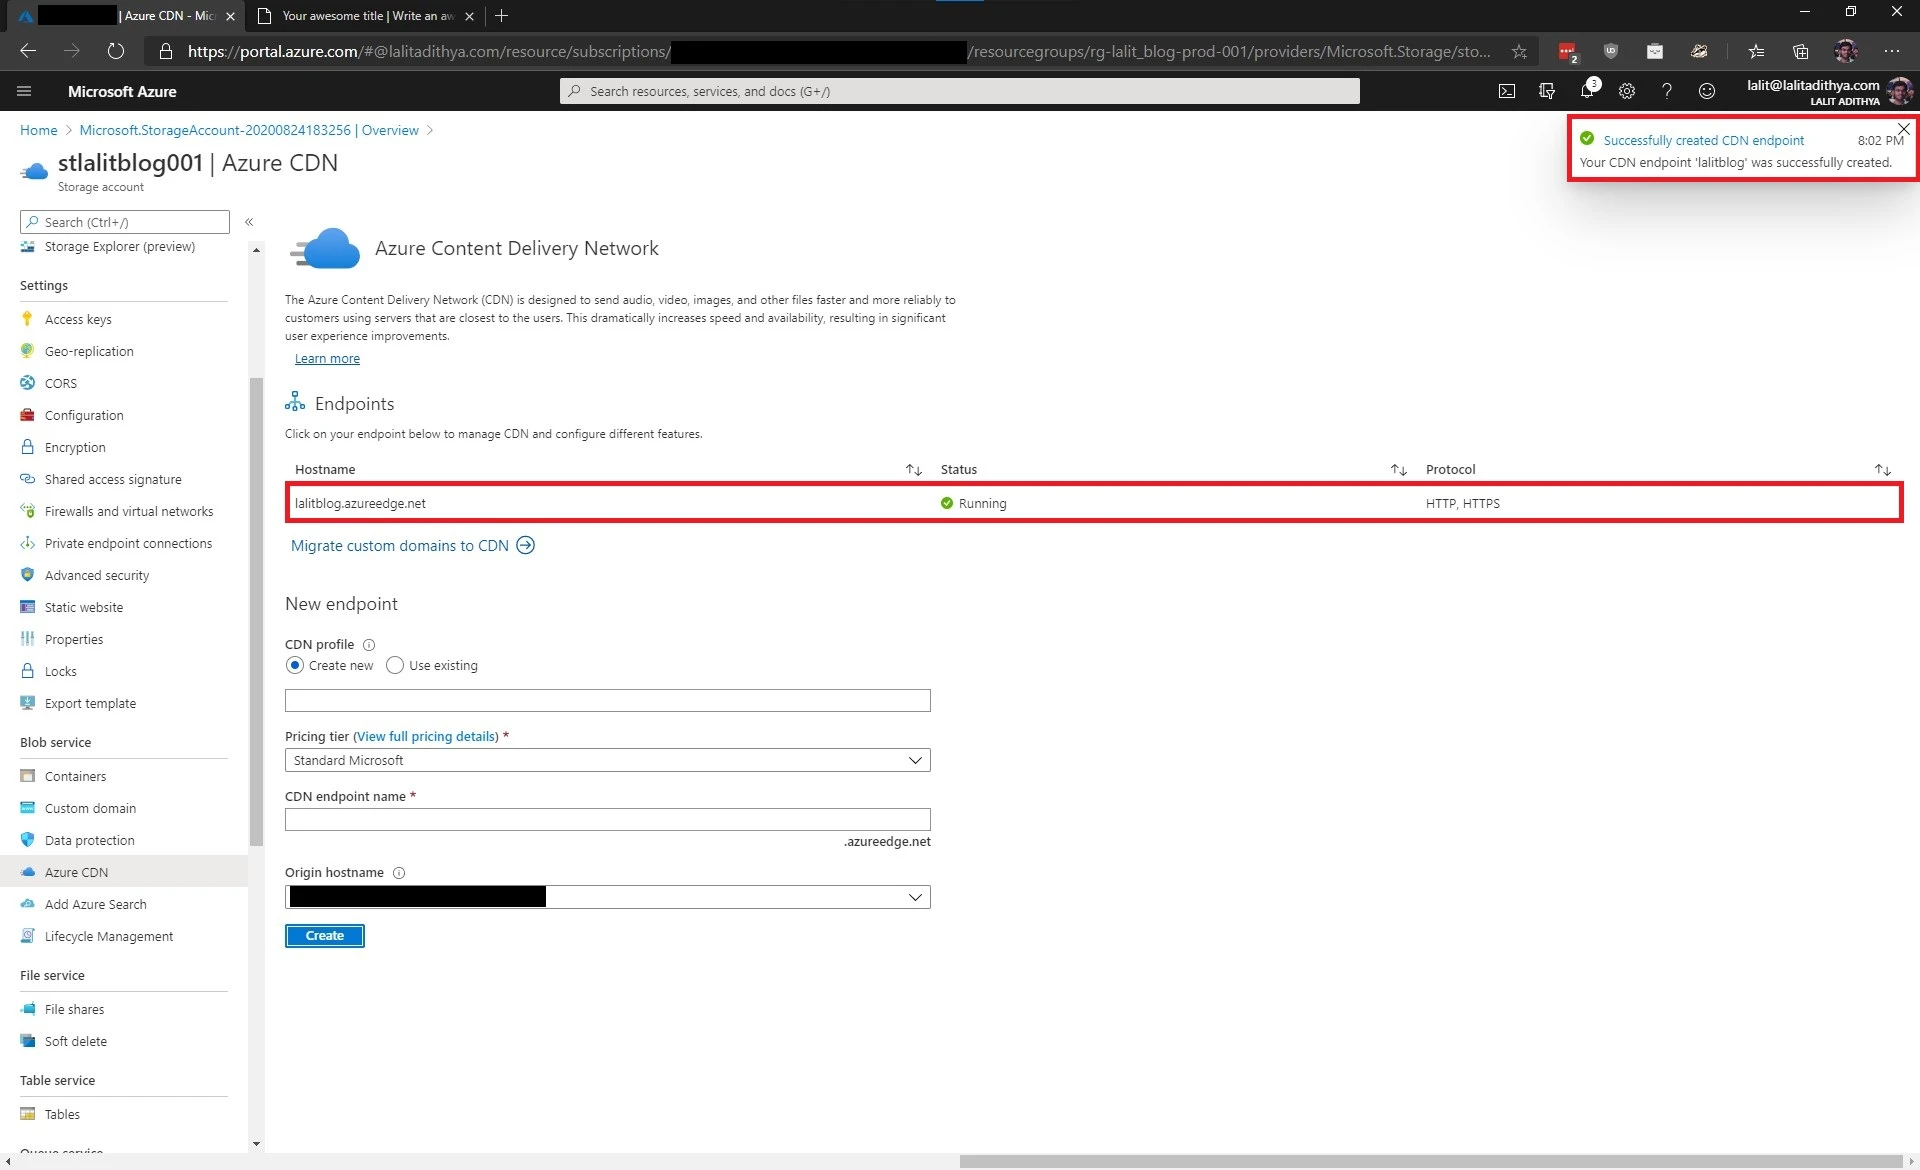
Give it a couple of minutes to complete the configuration. When it is complete, you should see something like this
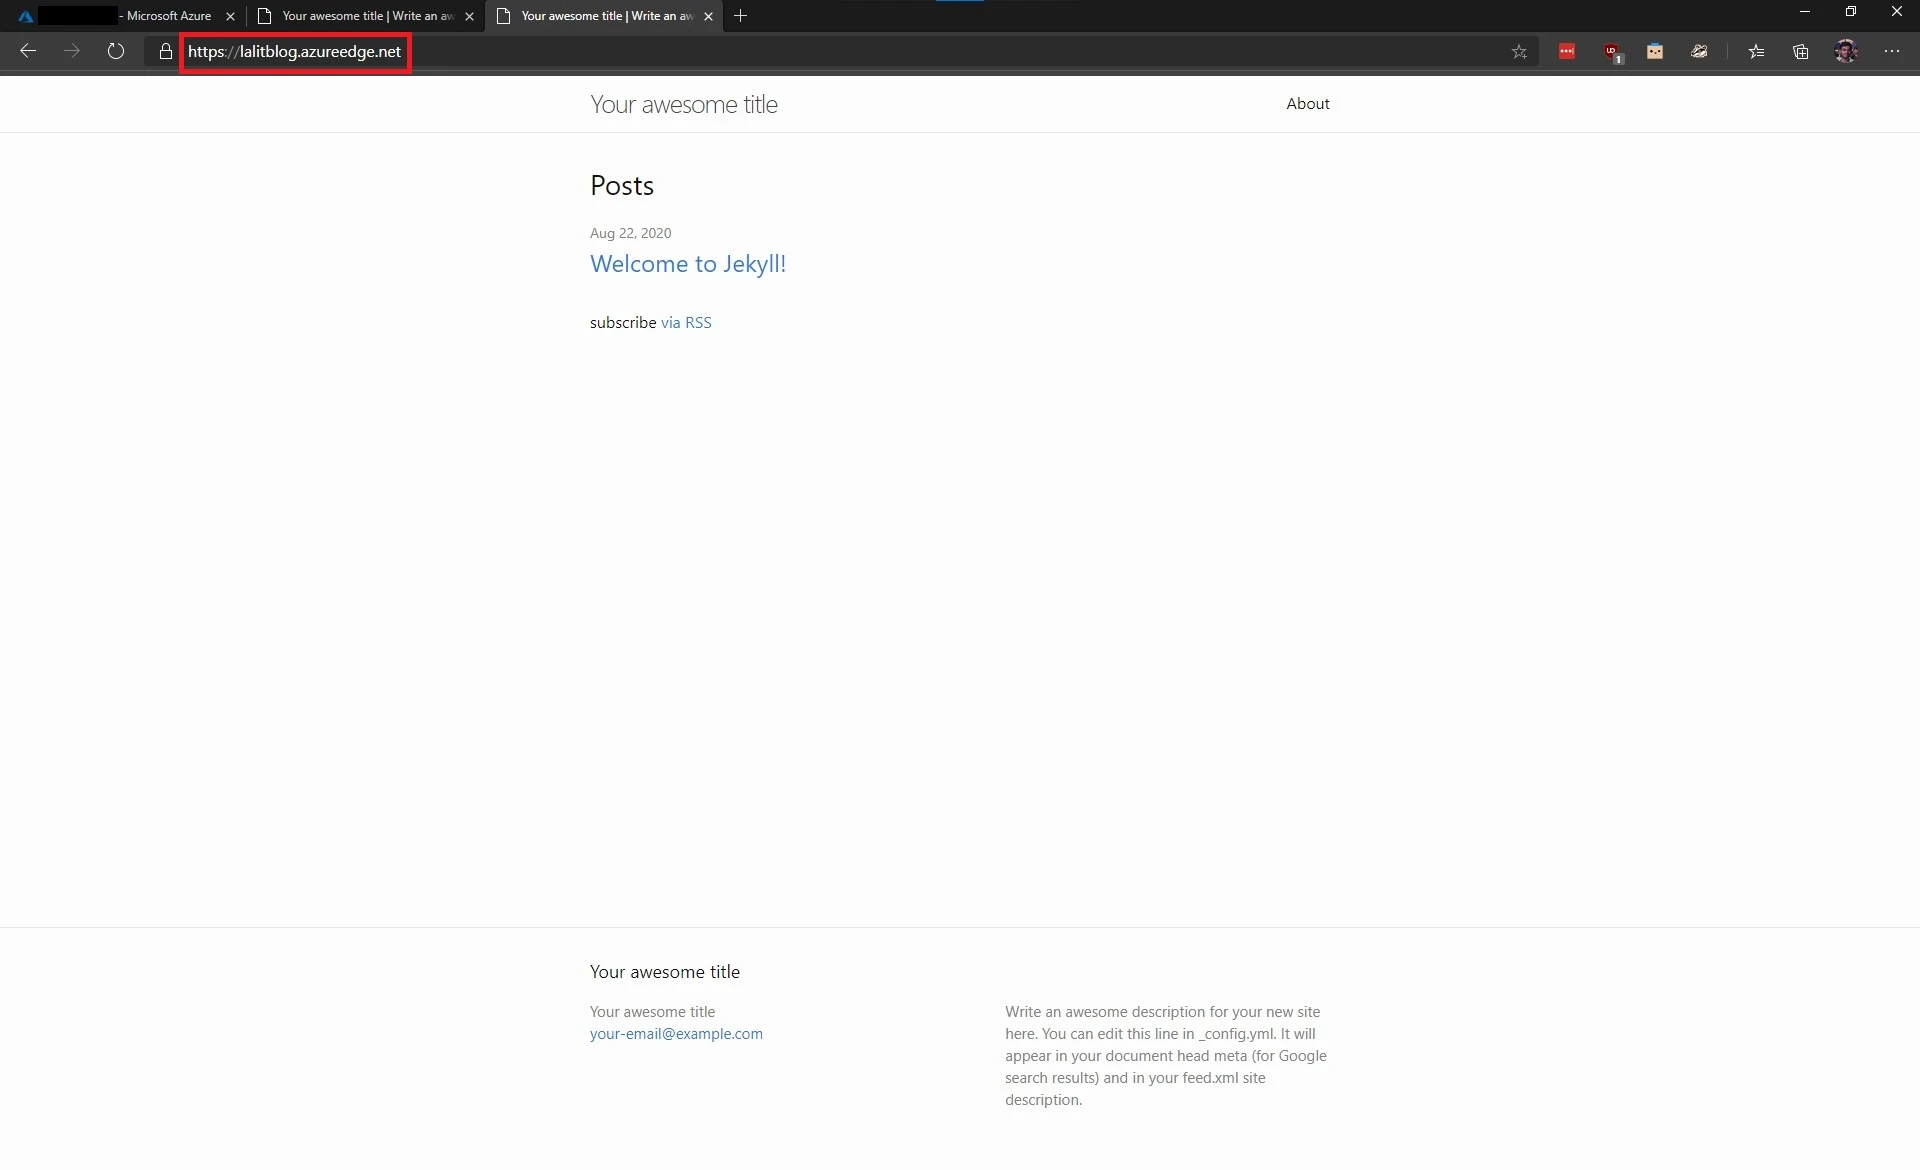
Now navigate to CDN endpoint name followed by “.azureedge.net” in a new tab. In my case the CDN endpoint name was “lalitblog”, hence I will navigate to lalitblog.azureedge.net”. You should see something like this
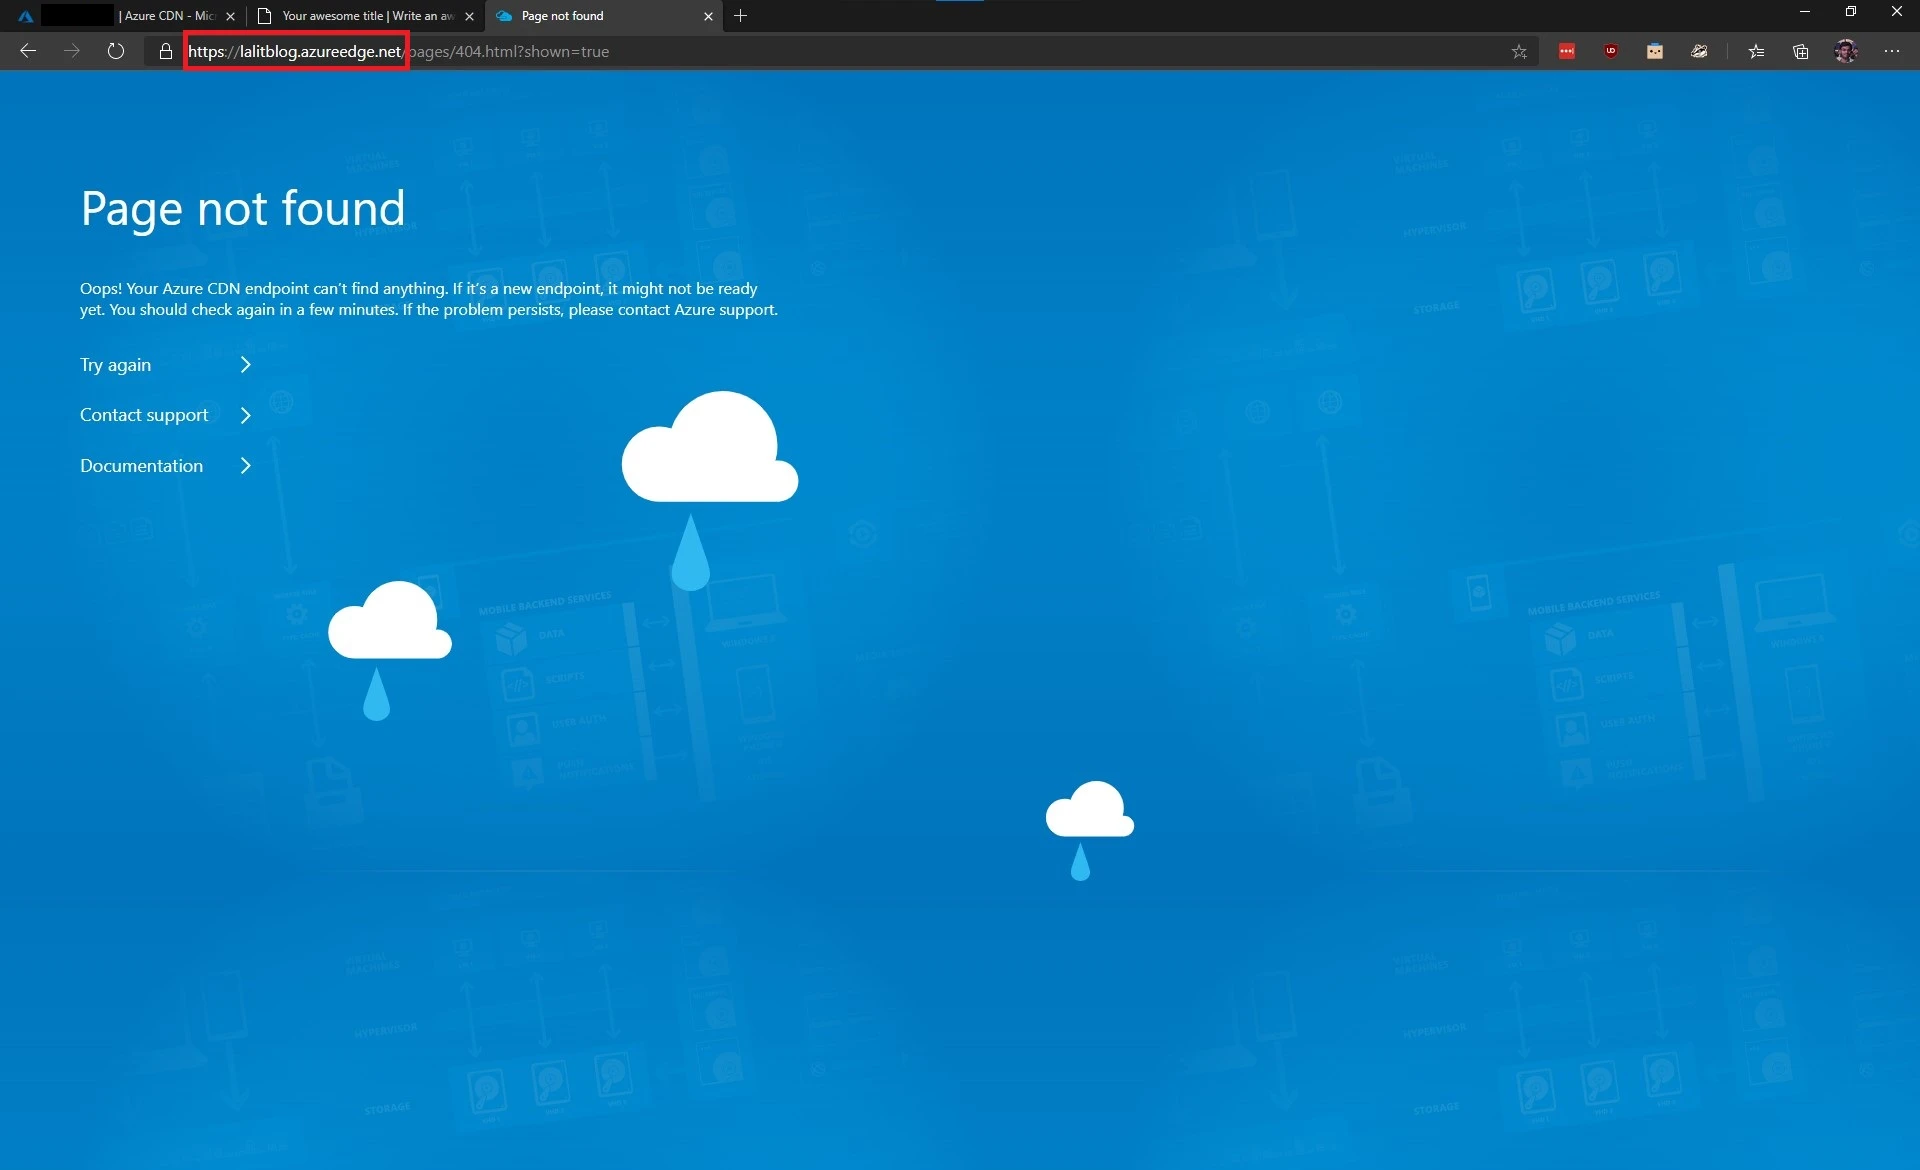
Did we mess something up? No. It can take up to 30 minutes to update the CDN POPs around the world. Please be patient and try again after some time. When I refreshed the page after 20 minutes, I was able to see my website.
We now have a CDN for our website. Notice that the website loads significantly faster. This is because the website is being fetched from the location that closest to you and not from the origin. In my case, my website was being fetched from the Indian CDN POP and not from US East where my website is hosted.
Step 5 - Custom domain and HTTPS!
Let us now add a custom domain to our website. I am going to be adding “blog.lalitadithya.com” as my custom domain. To add a custom domain we need to add a CNAME pointing to the CDN endpoint.
Login to your DNS provider and add a CNAME for the custom domain of your choice pointing to your CDN endpoint. In my case, I logged in to Azure DNS and then added a CNAME for “blog.lalitadithya.com” pointing to “lalitblog.azureedge.net”. DNS propagation might take some time, so wait at least about 5 to 10 minutes before proceeding further.
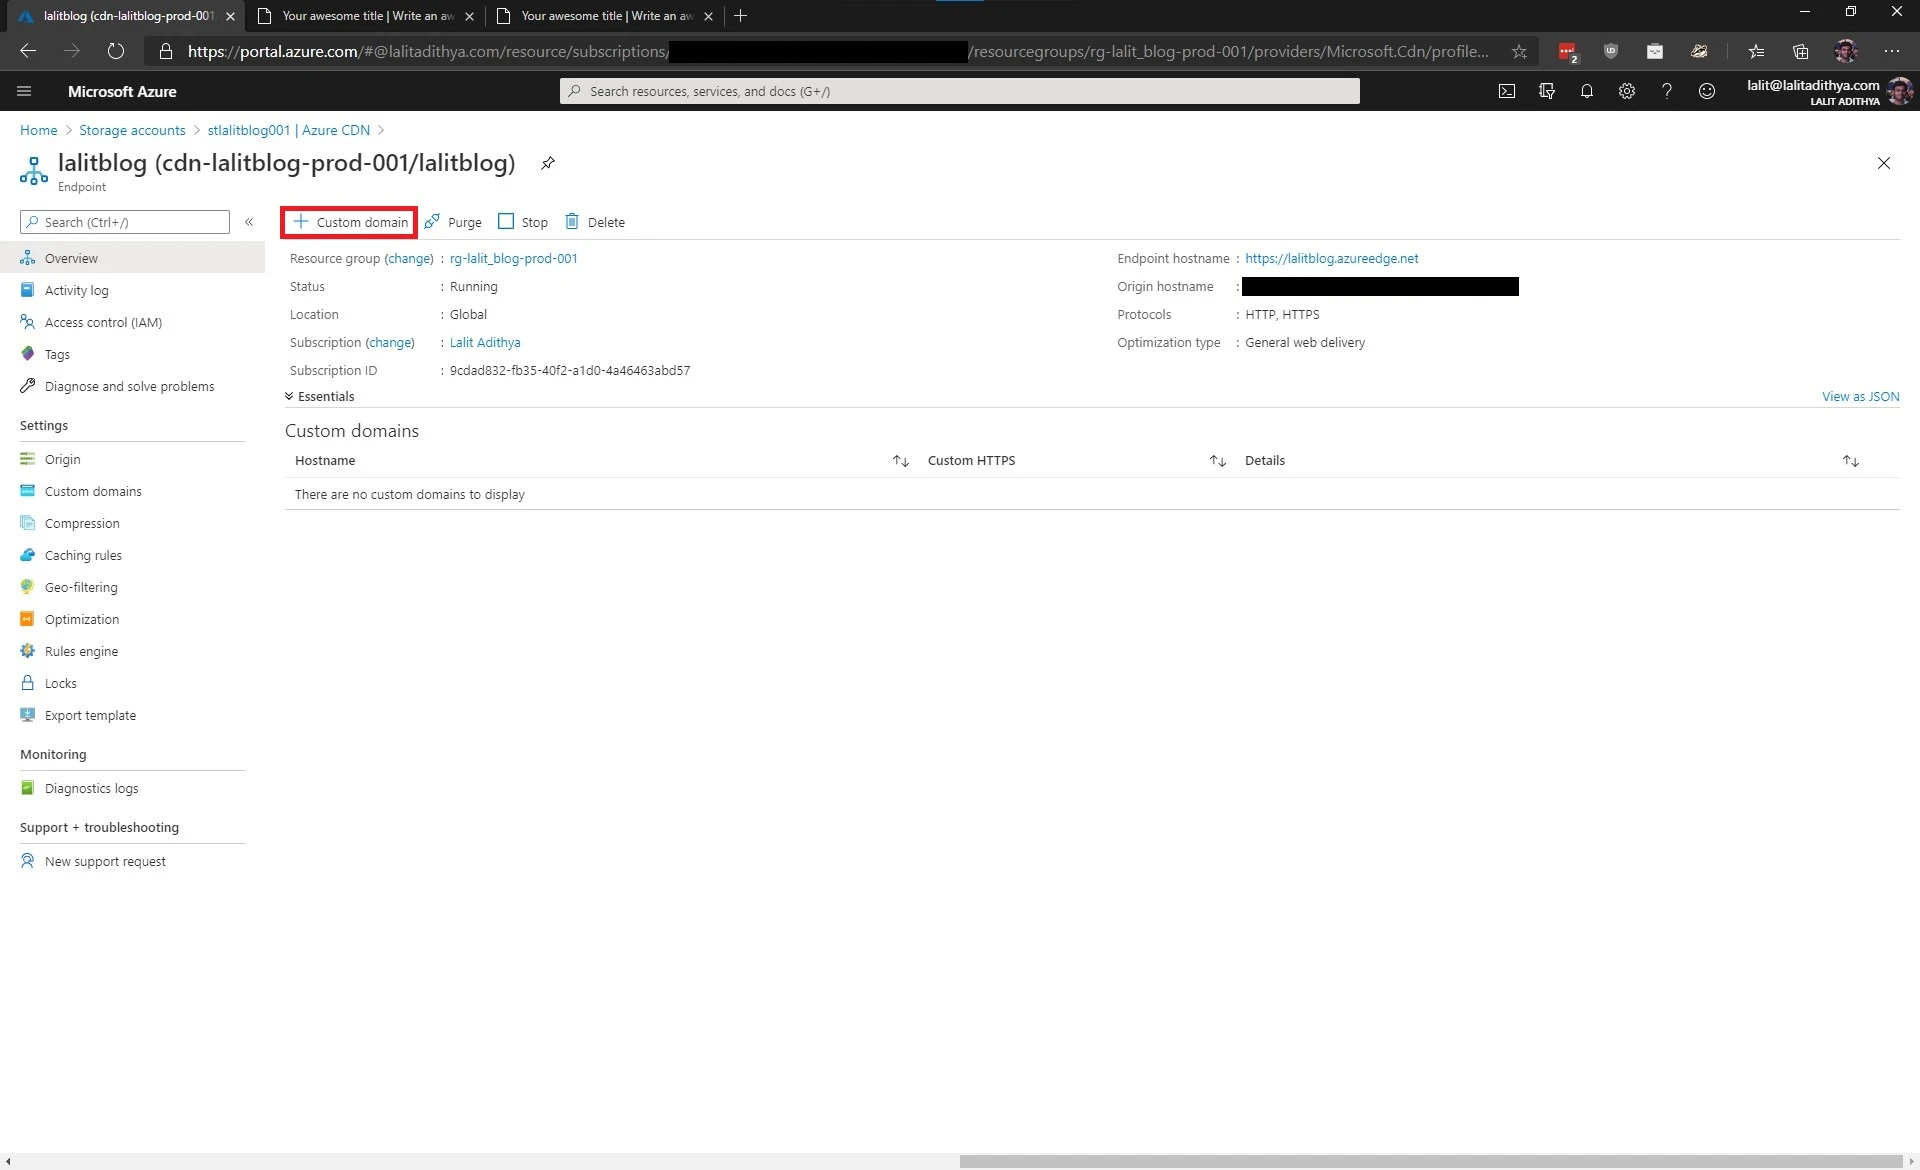
Switch back to your Azure portal and then click on your hostname under the endpoints subsection as shown.
Click on the “+ Custom domain” button in the top navigation bar.
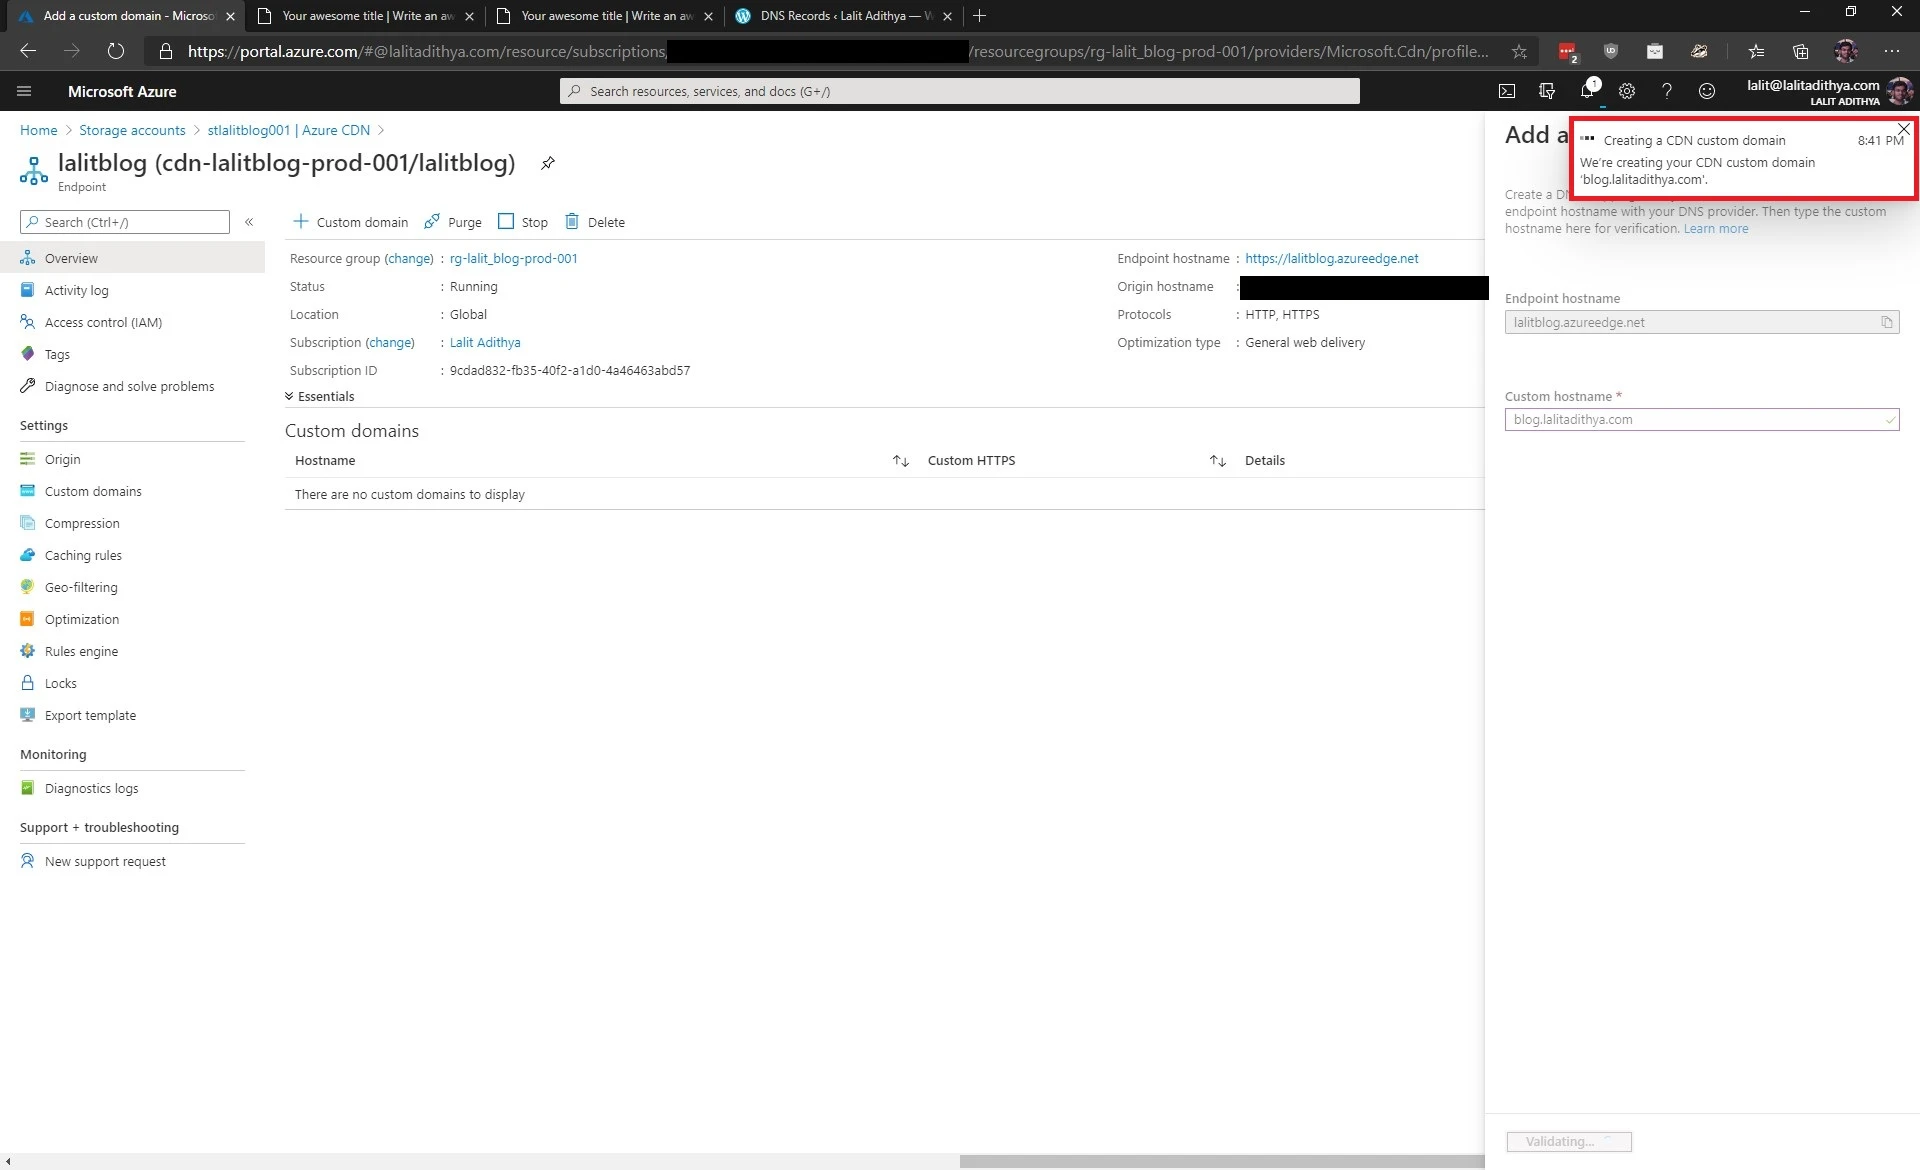
In the fly-out menu, enter your custom domain name and click on the “Add” button. In my case, I will enter “blog.lalitadithya.com”
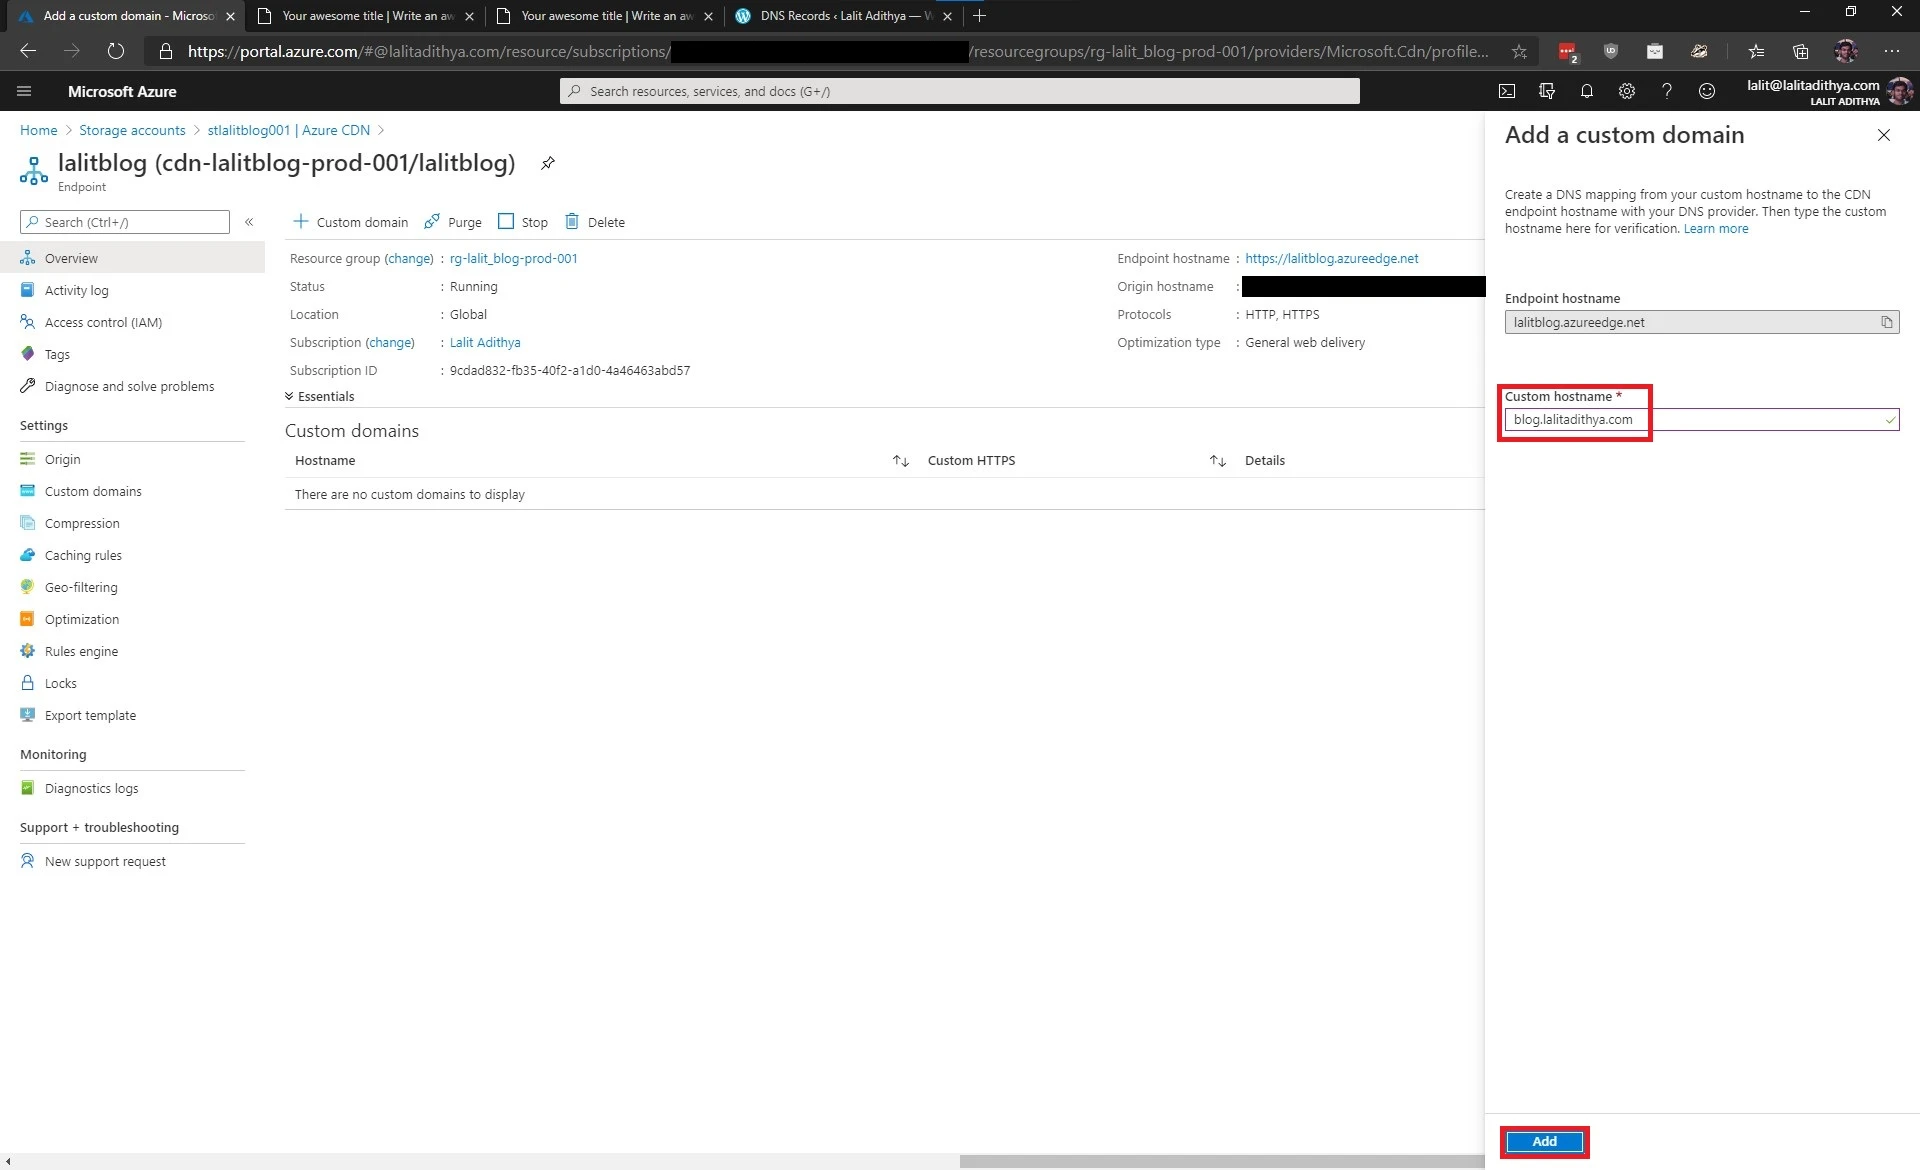
You should see:
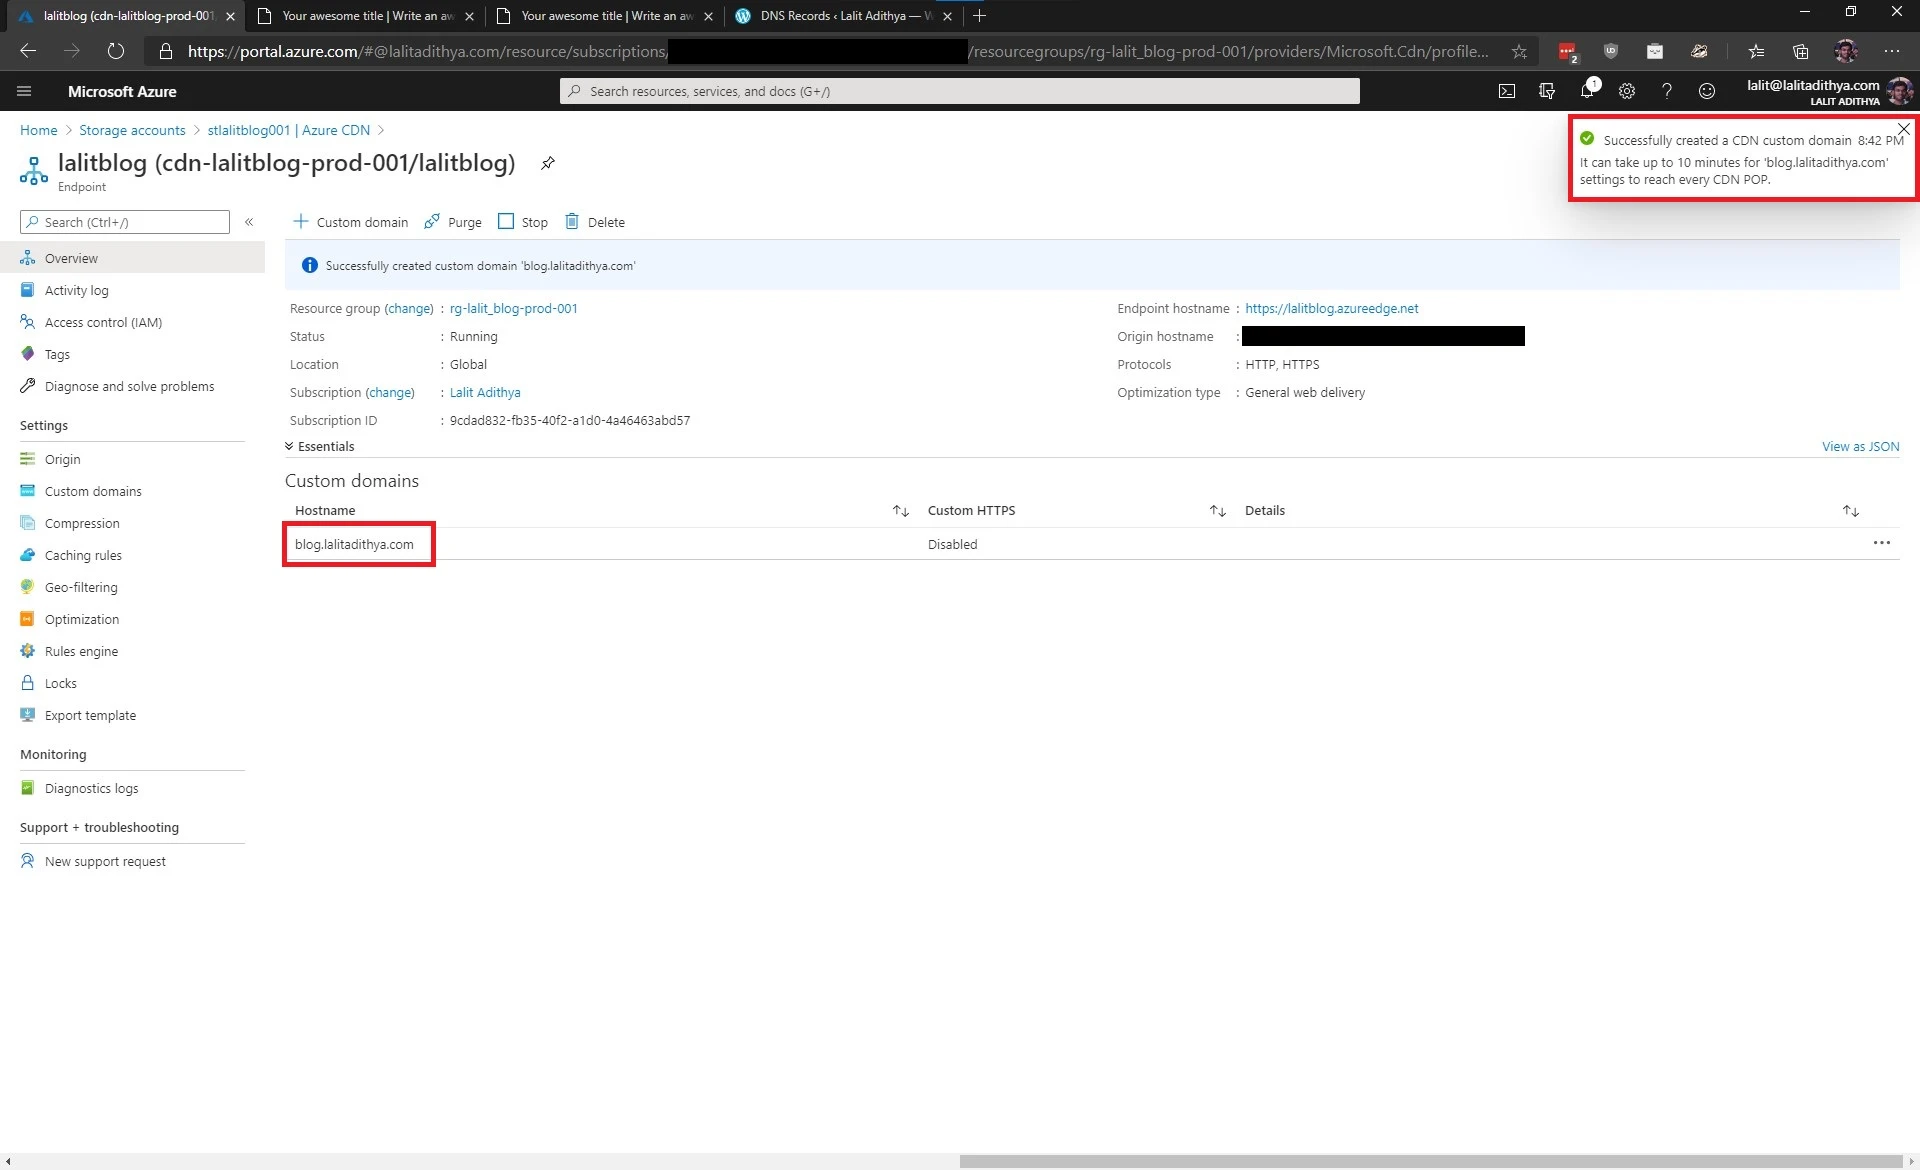
Give it a few minutes to complete. Once it is complete, you should see something like this. To enable HTTPS, click on your custom domain as shown.
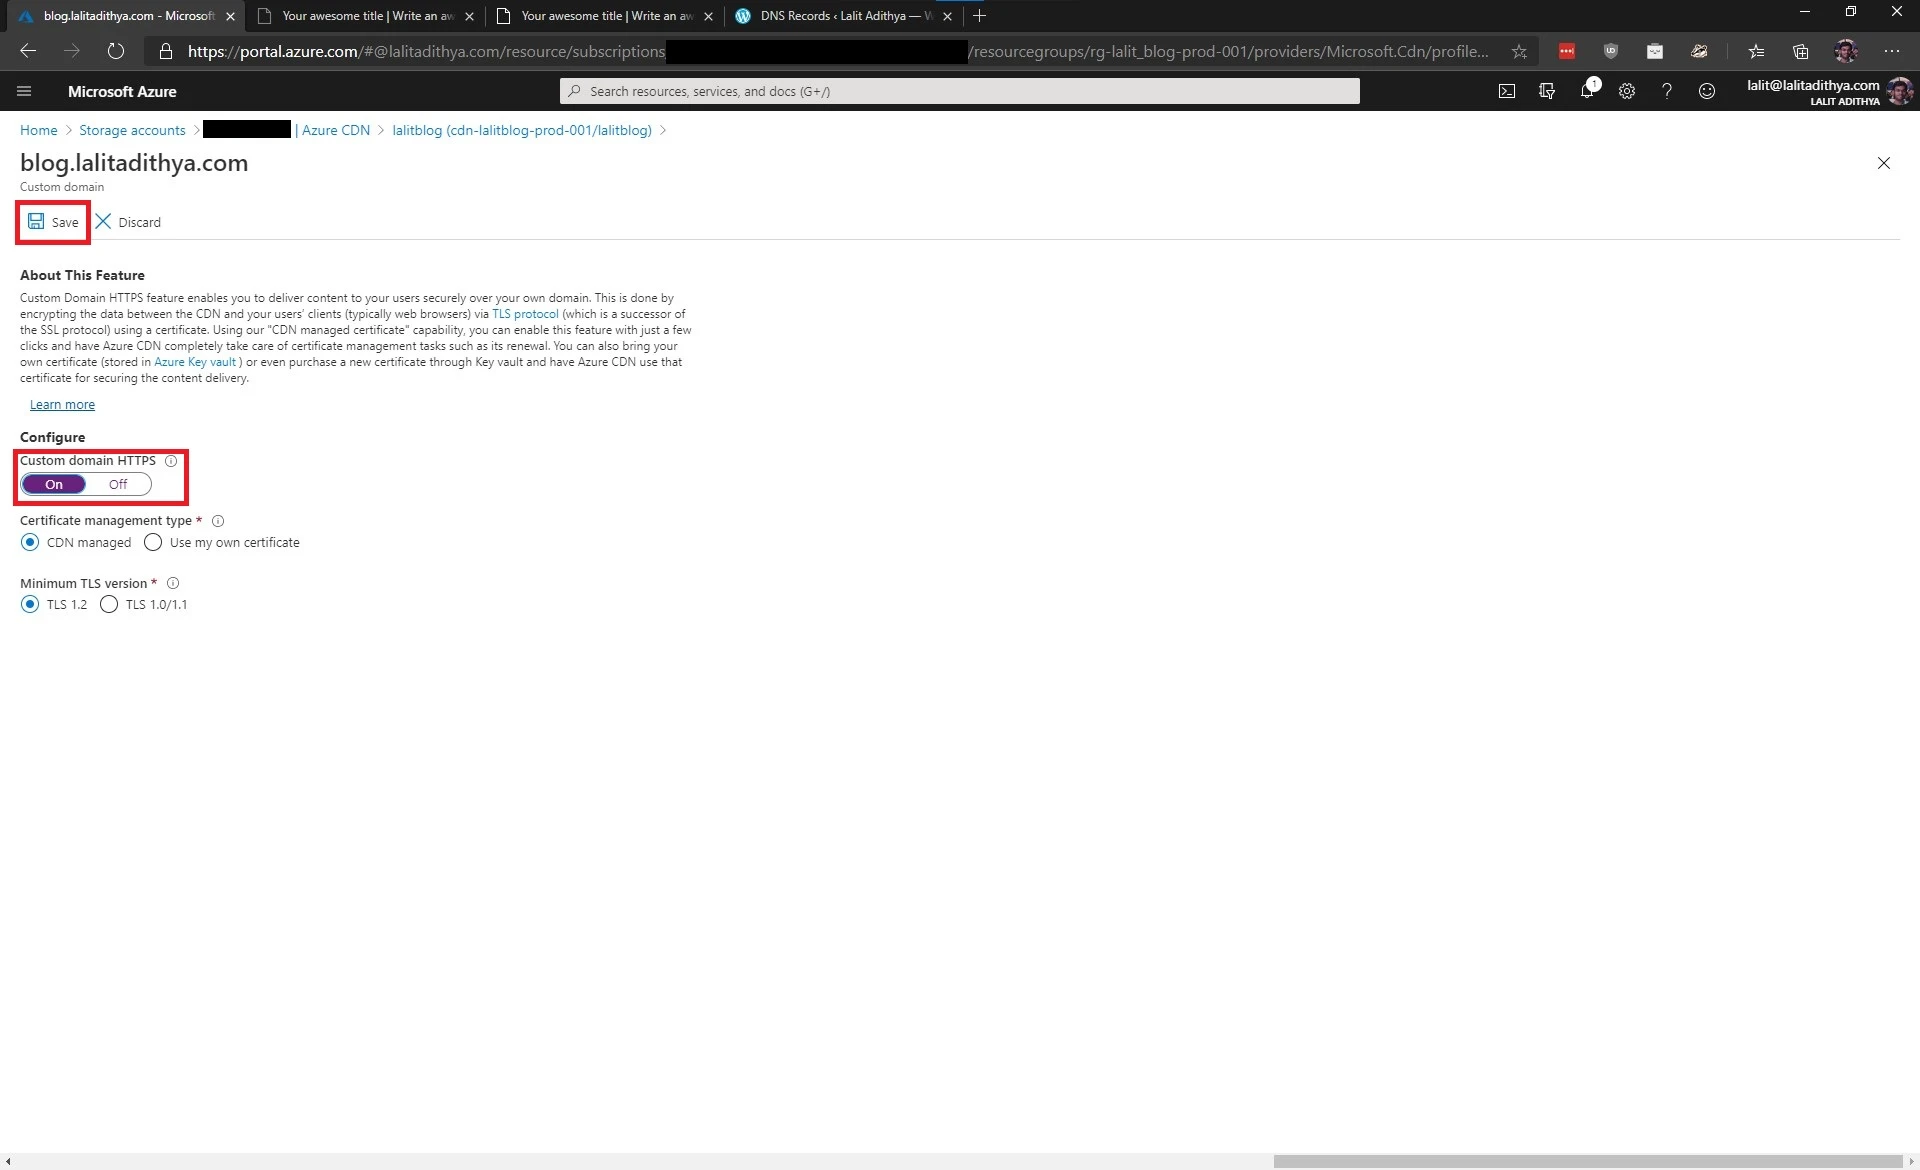
Flip the toggle switch to “On” and then click “Save”.
You should now see something like this
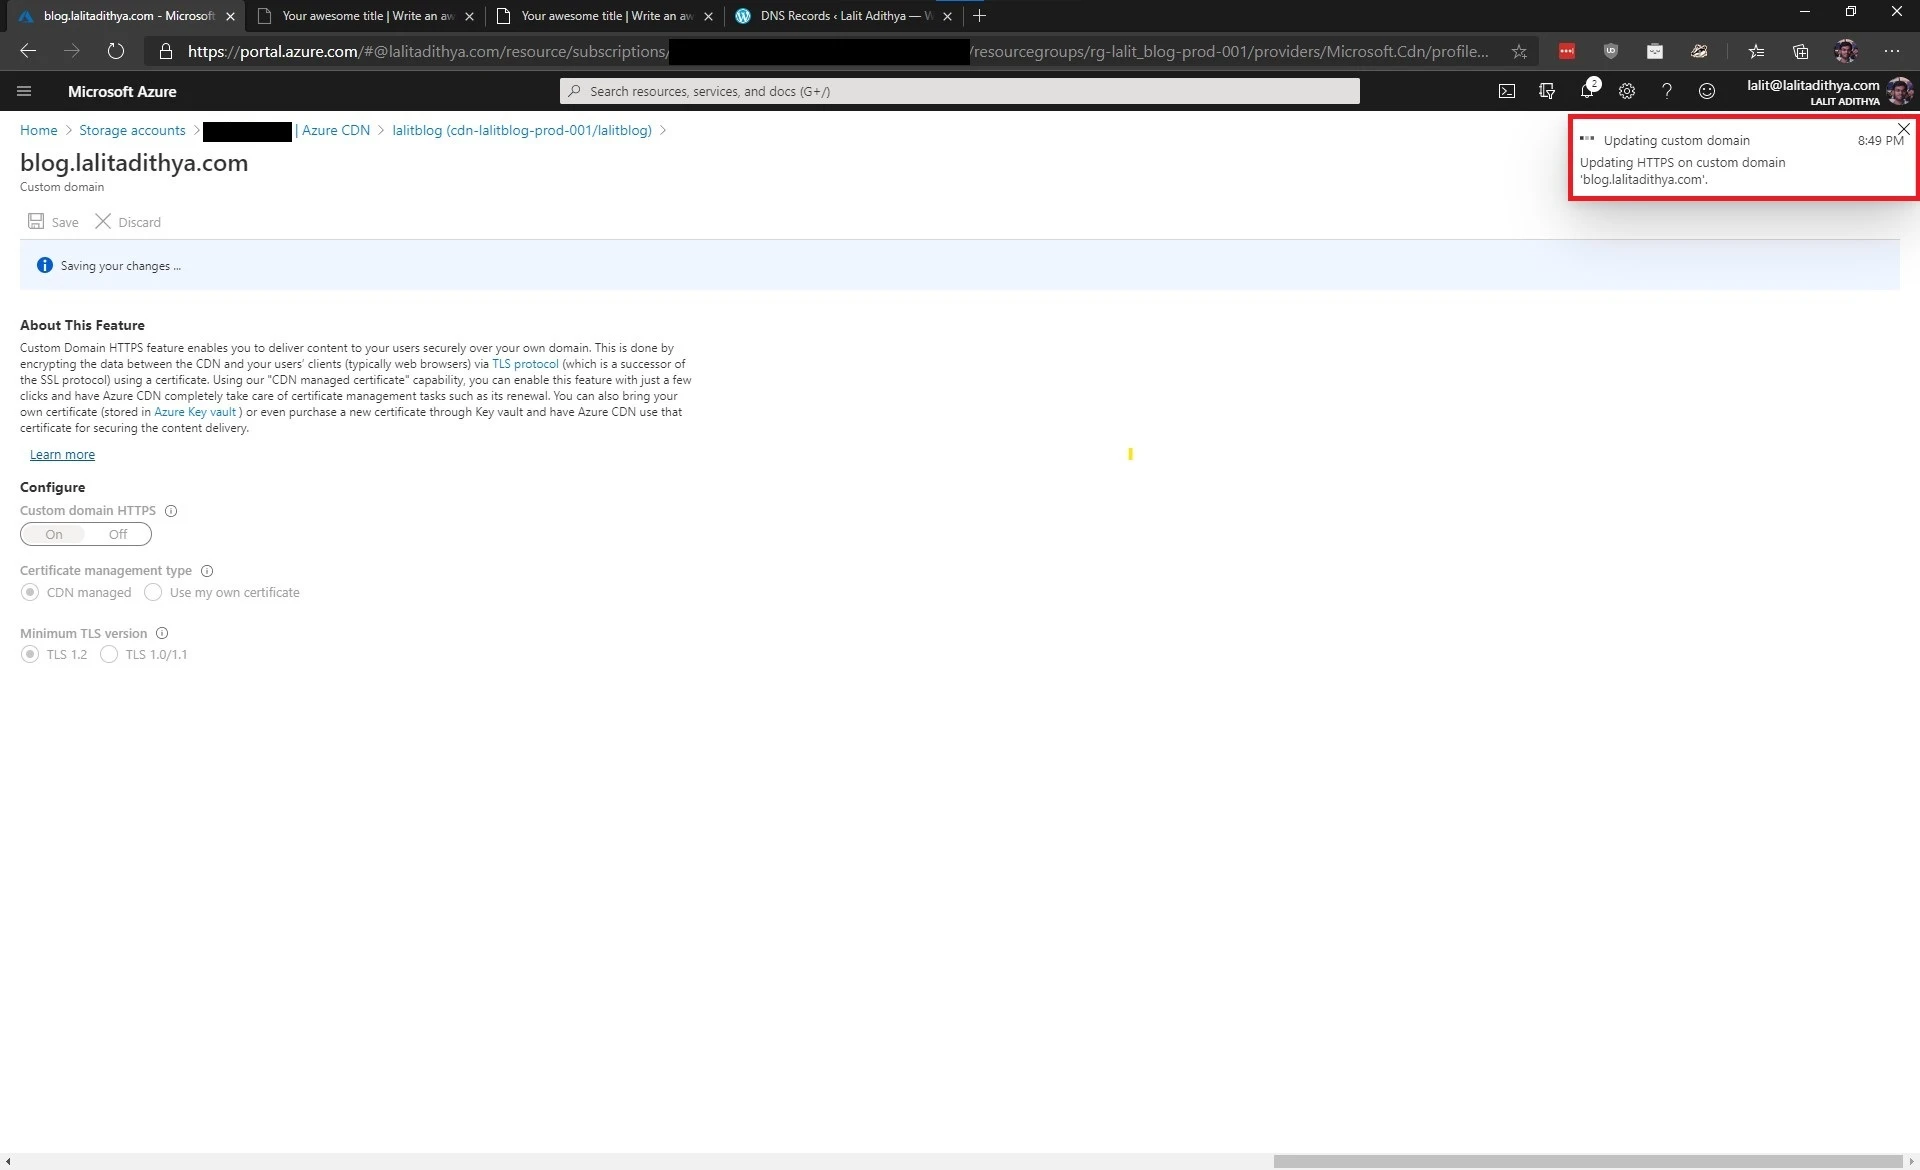
After about a minute, the deployment would have completed, and you should see something like this
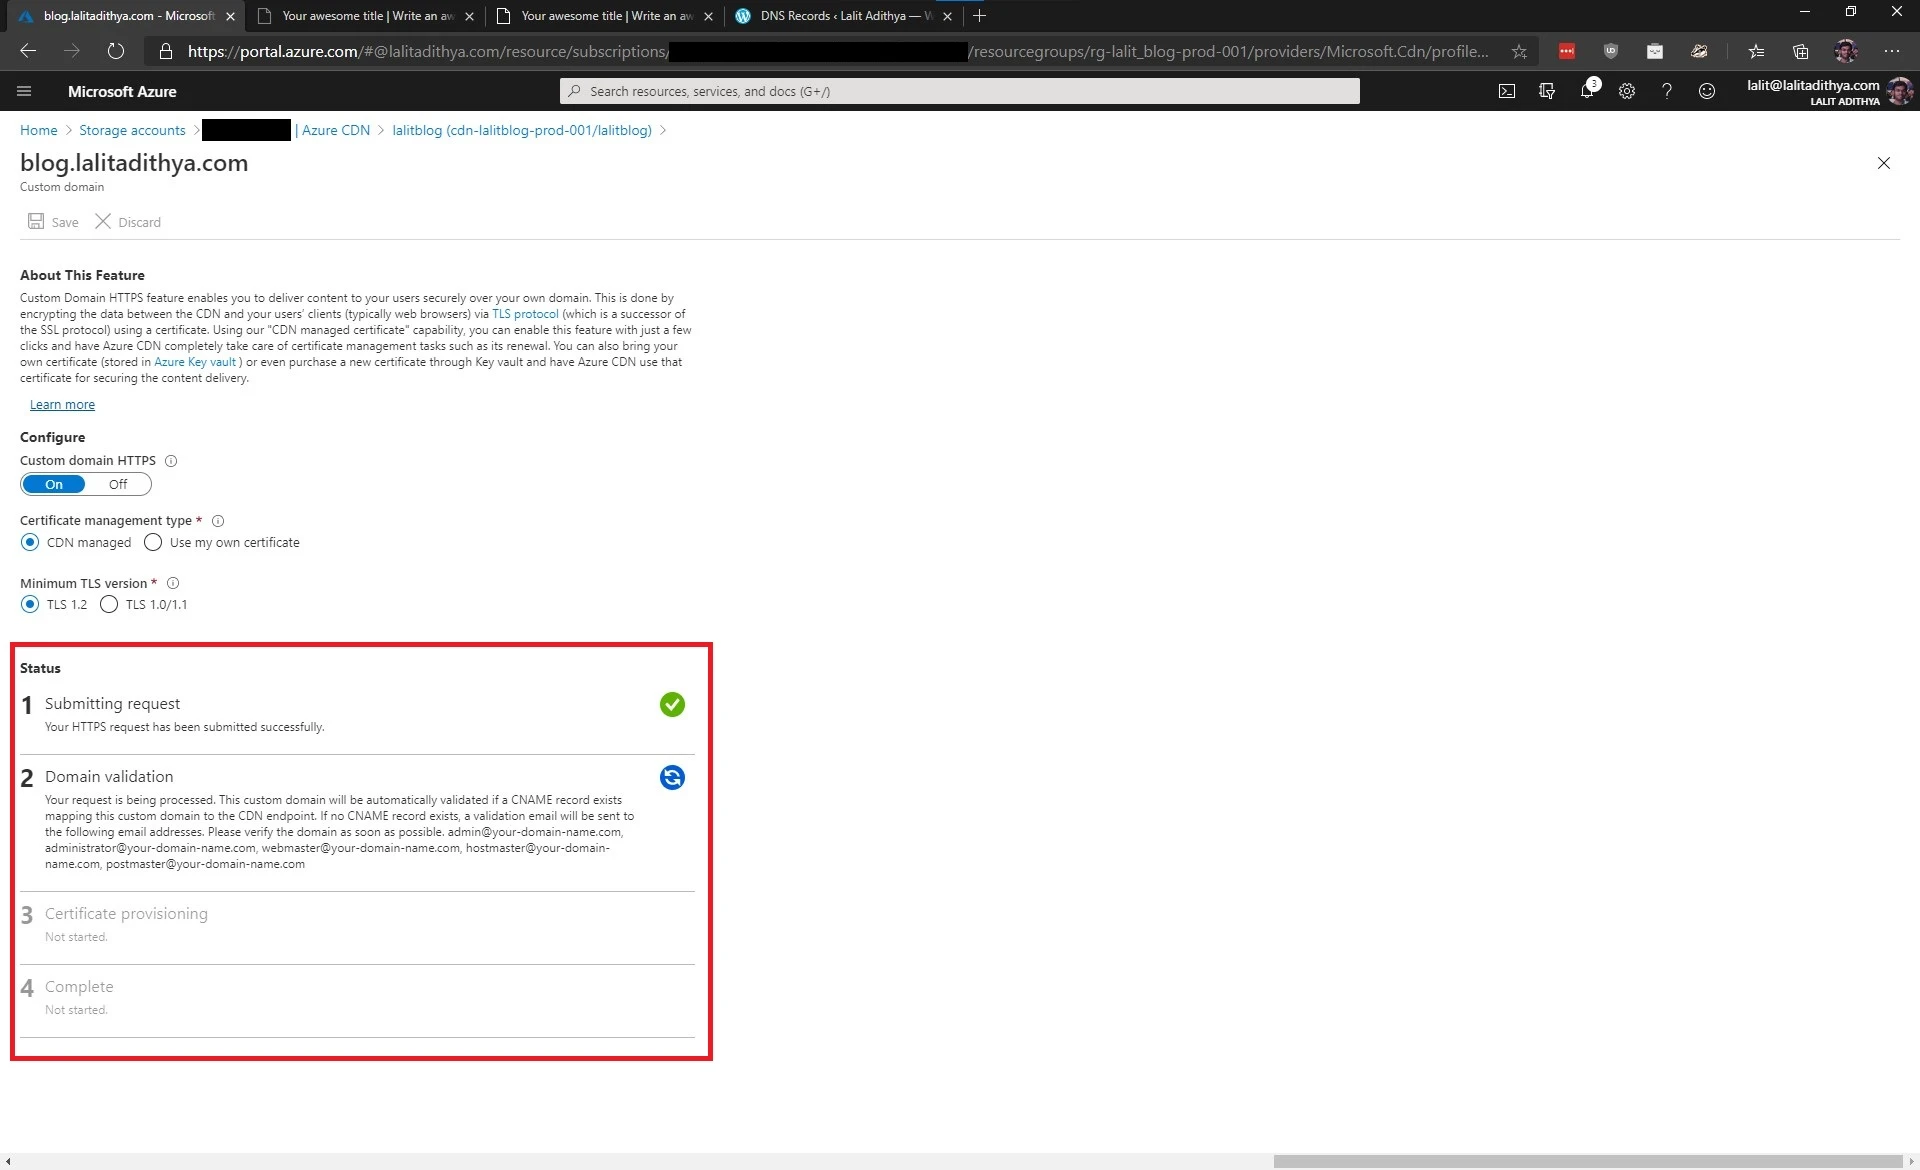
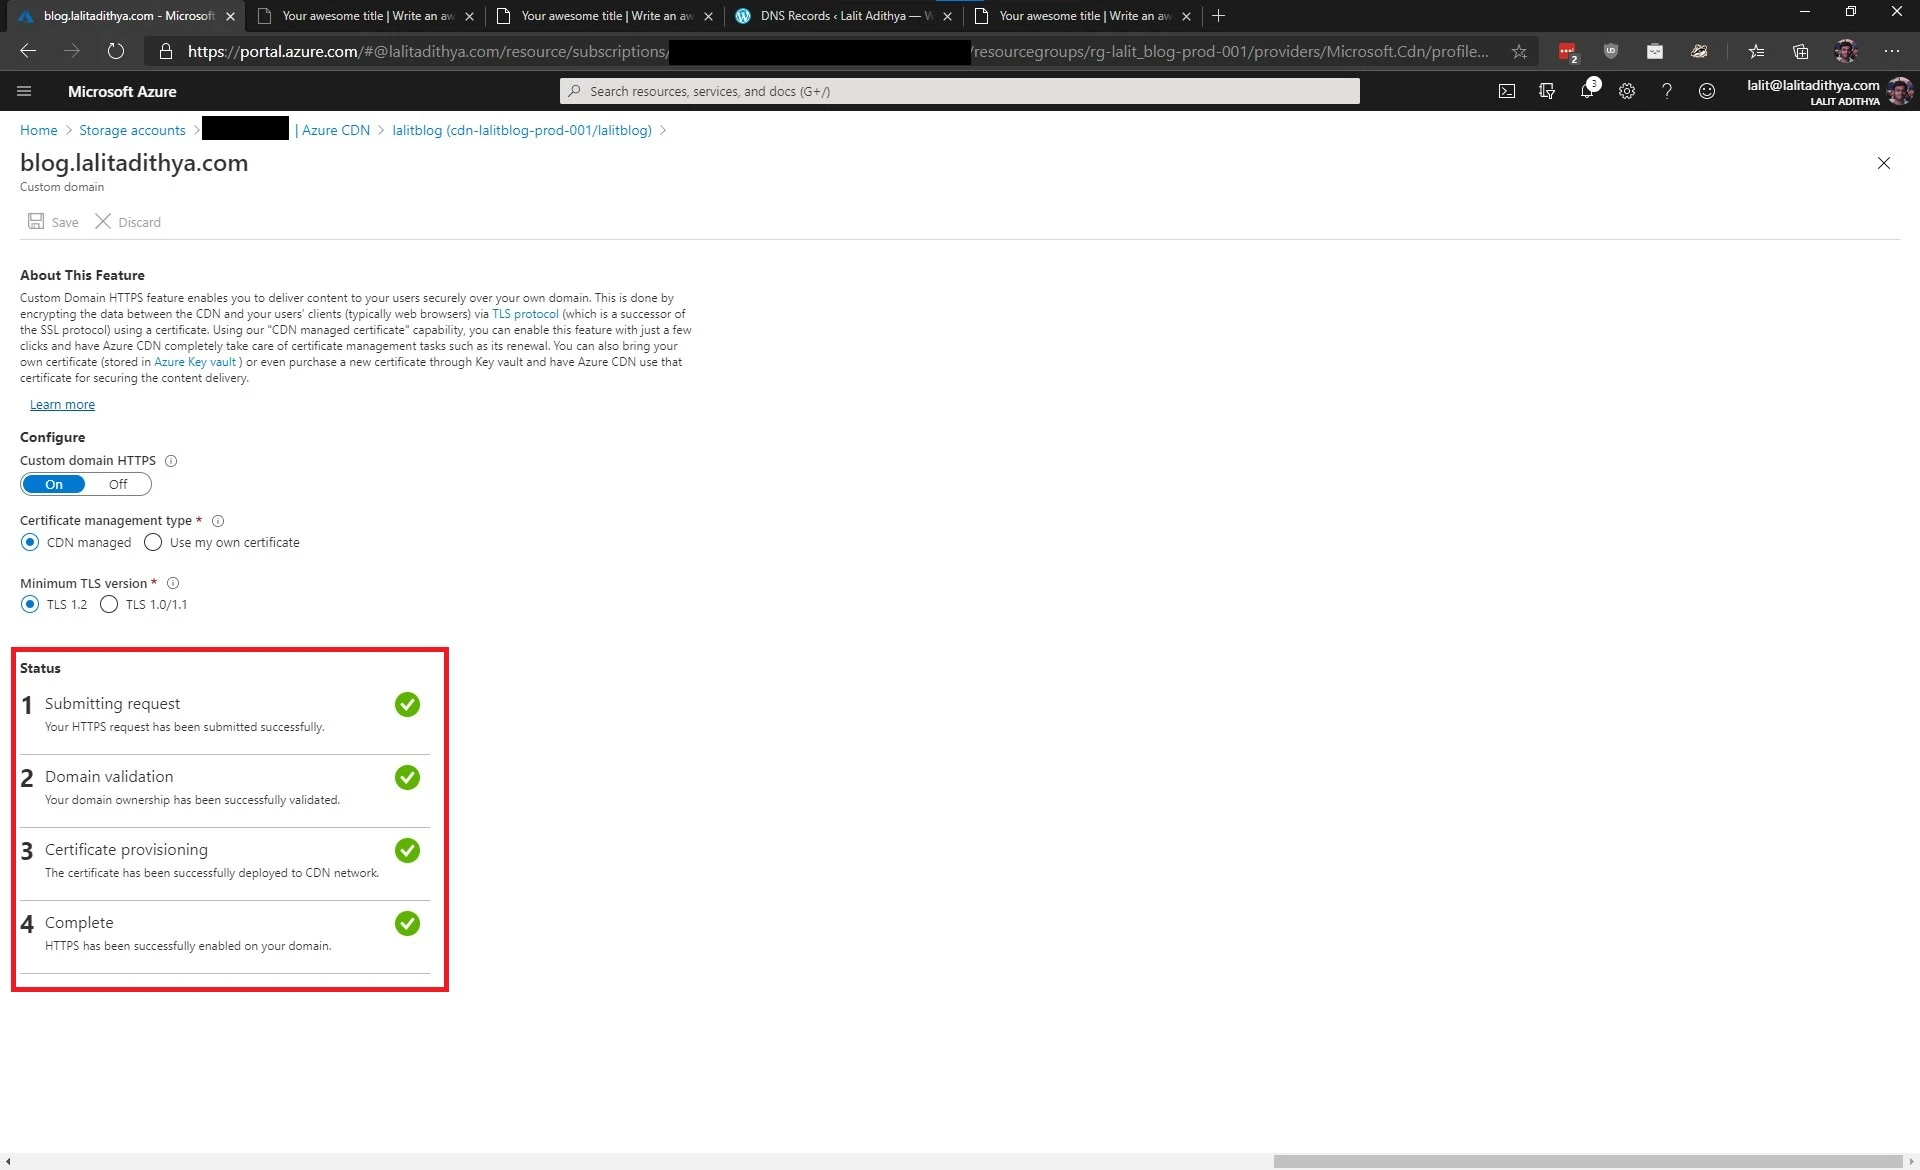
The HTTPS propagation process can take at least half-hour to at most 2 hours, so please be patient. The page will update itself automatically when a step is complete. Once all the steps are complete, you should see something like this.
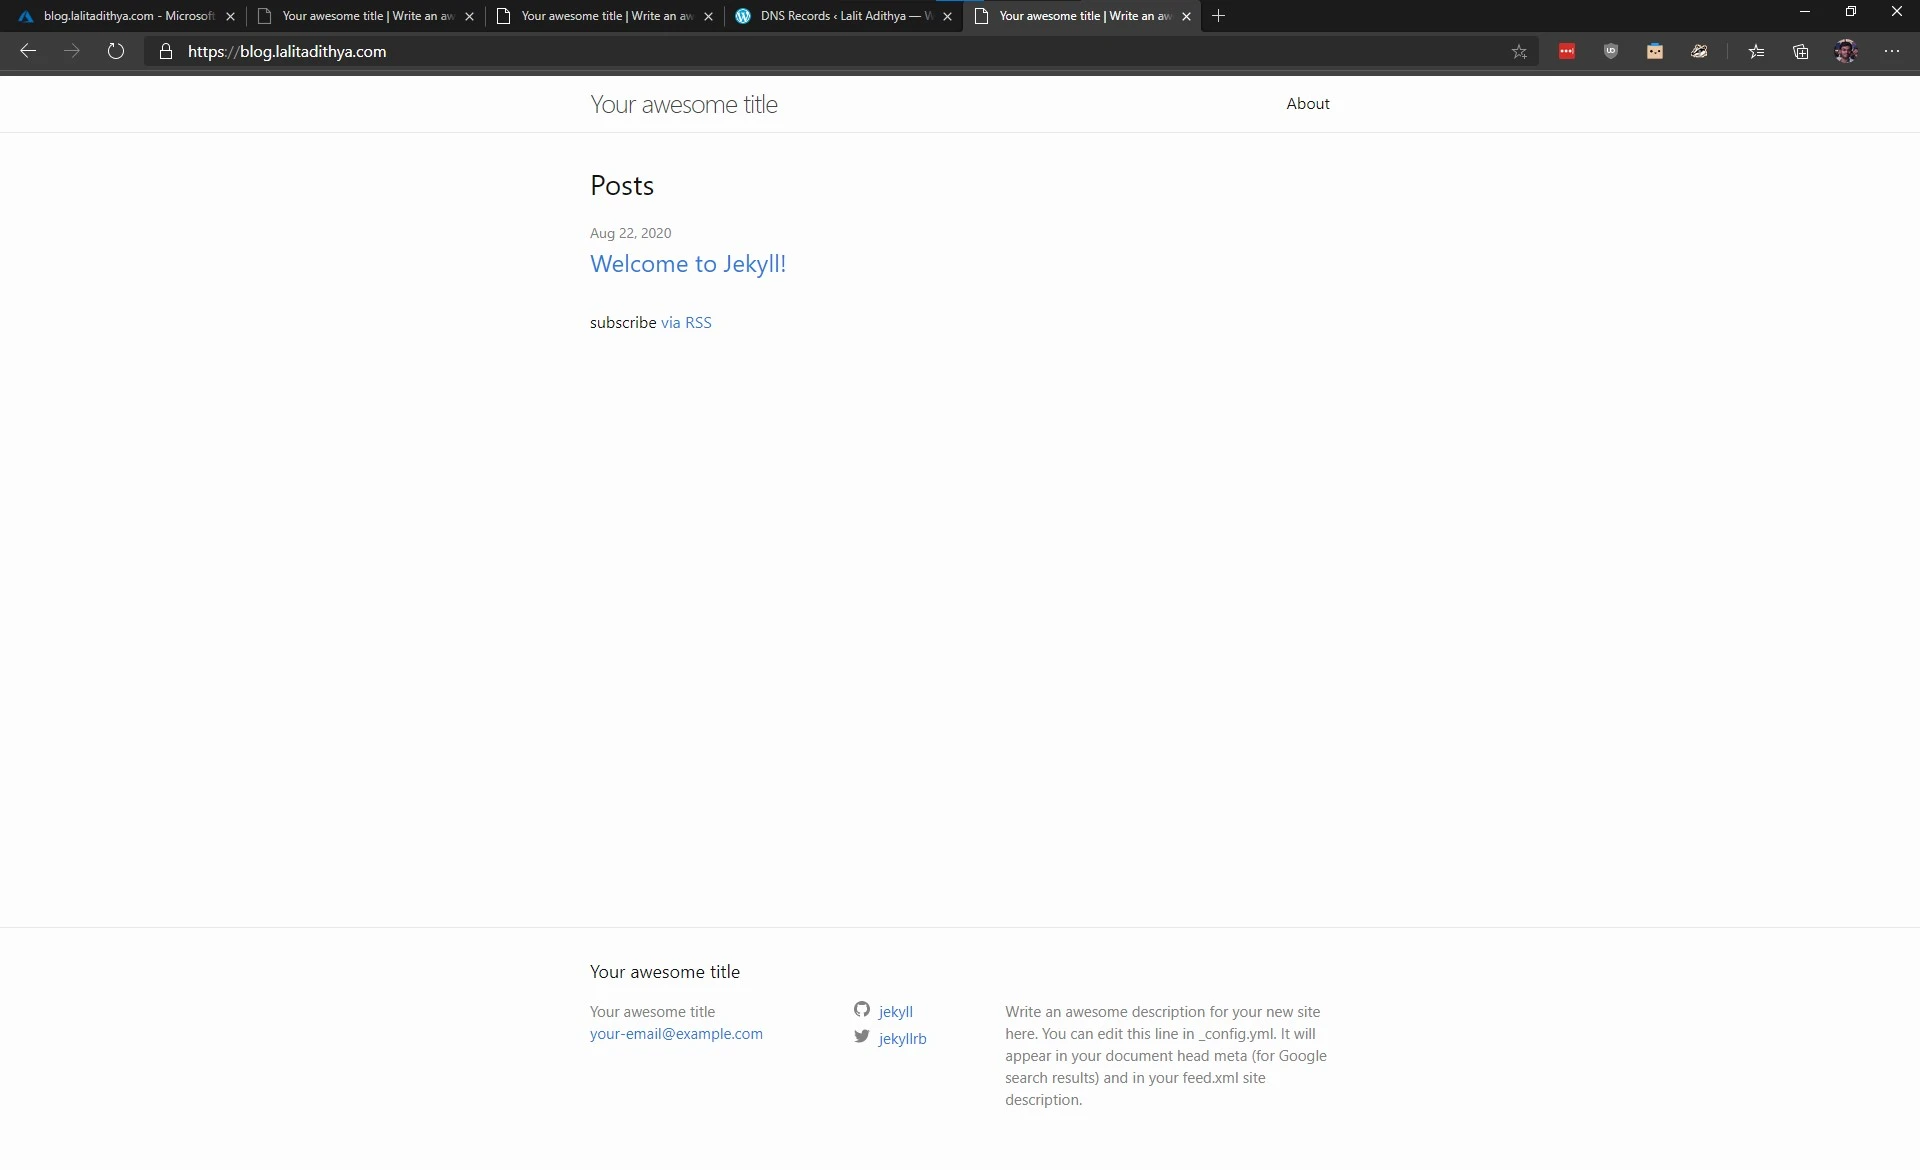
Now open one more tab and navigate to the custom domain. In my case, I will navigate to “blog.lalitadithya.com”. You should now see your website with your custom domain with HTTPS enabled.
Conclusion
In this post, we created all the necessary resources on Azure and deployed our website manually. We configured a CDN, added a custom domain, and enabled HTTPS. In the next post we will look at how we can build a continuous deployment pipeline using GitHub actions.